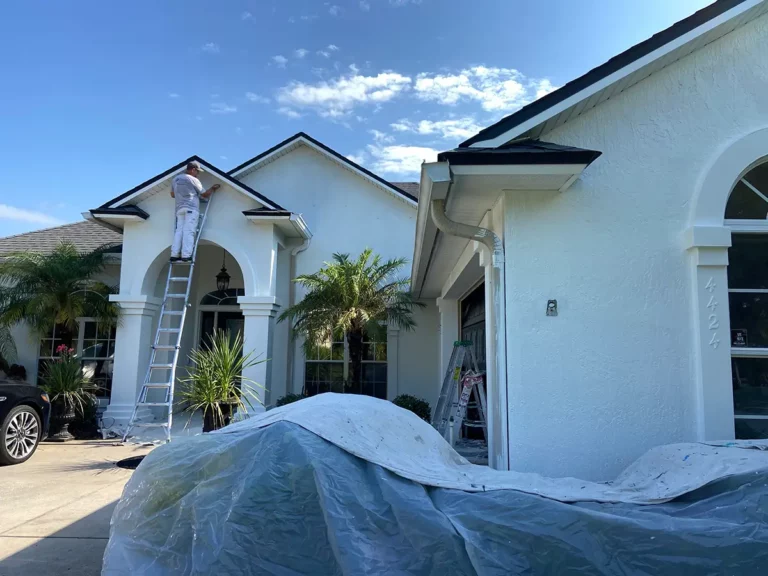
Prepping Exterior Trim for Paint Complete Guide for a Long-Lasting Finish
Exterior trim is the finishing detail that defines a home’s appearance. But no matter how premium the paint is, skipping proper preparation on your exterior trim will lead to cracking, peeling, and discoloration. Trim areas are especially prone to moisture damage, UV exposure, and wear, making prep critical.
Well-prepped trim means a clean, sealed, and smooth surface that enhances adhesion and delivers clean lines. Whether it’s fascia boards, window frames, or decorative moldings, proper prep work protects your investment and elevates curb appeal.
Step-by-Step Instructions for Preparing Exterior Trim
Clean All Trim Surfaces
Remove dirt, mildew, and chalky residue using a brush and a mild TSP solution. A pressure washer can also be used at a low setting. Allow the trim to dry completely before proceeding.
Cleaning ensures that paint won’t trap debris or moisture, which can weaken adhesion and accelerate wear.
Scrape and Sand Peeling Paint
Using a carbide scraper or putty knife, remove any peeling or bubbled paint. Follow up with sanding using medium-grit sandpaper (100–120 grit) to smooth the edges.
This creates a uniform surface and helps fresh paint bond better. Focus on joints, window frames, and corners that often peel first.
Repair Any Surface Damage
Inspect for cracked caulk, rotted wood, nail holes, or loose trim boards. Use an exterior wood filler or epoxy to repair damage. For severely rotted trim, replacement is often the best choice.
Applying fresh caulk to seams and joints prevents moisture intrusion and ensures a polished look post-paint.
Prime All Bare or Repaired Areas
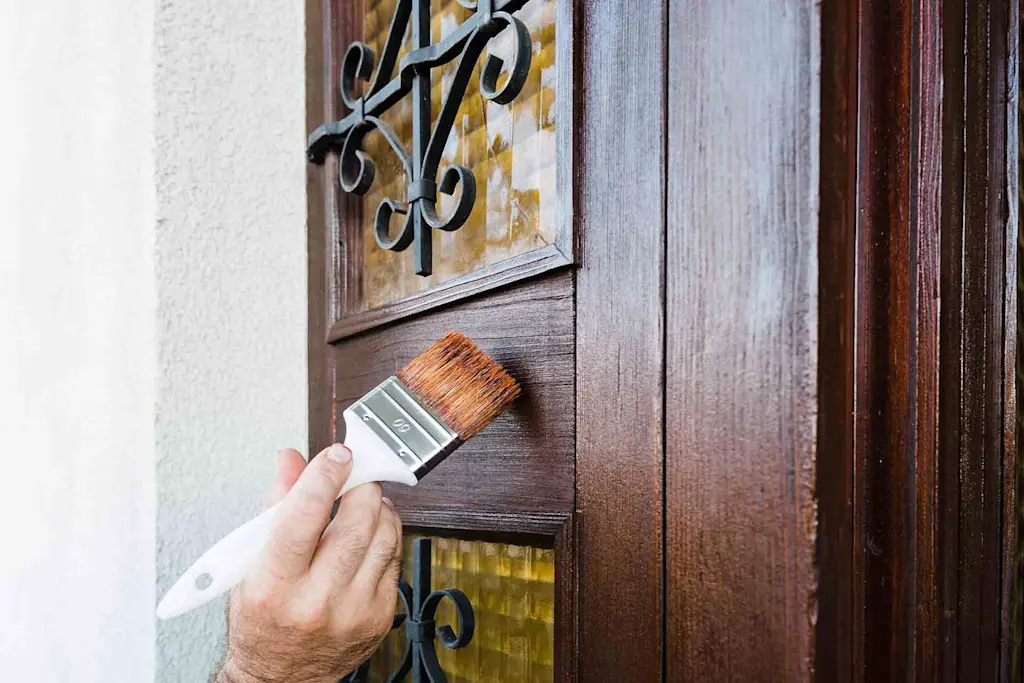
Priming is especially important on bare wood, filled spots, or water-stained areas. Choose an exterior primer compatible with your topcoat (latex or oil-based). Apply with a brush for maximum coverage.
Priming seals porous areas and prevents tannin bleed from woods like cedar or redwood. It also increases paint durability.
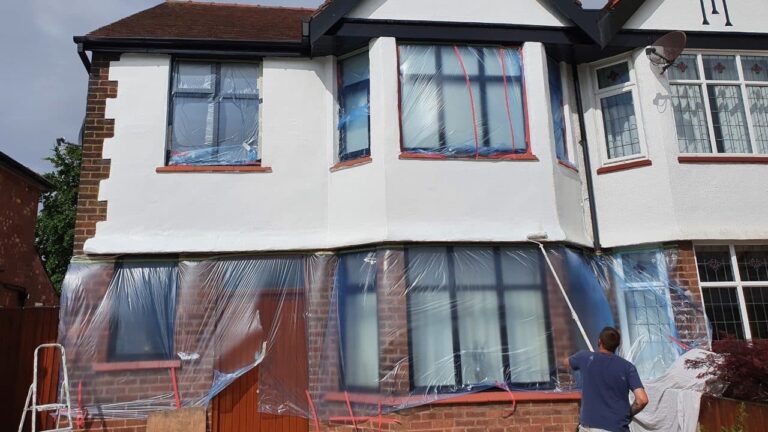
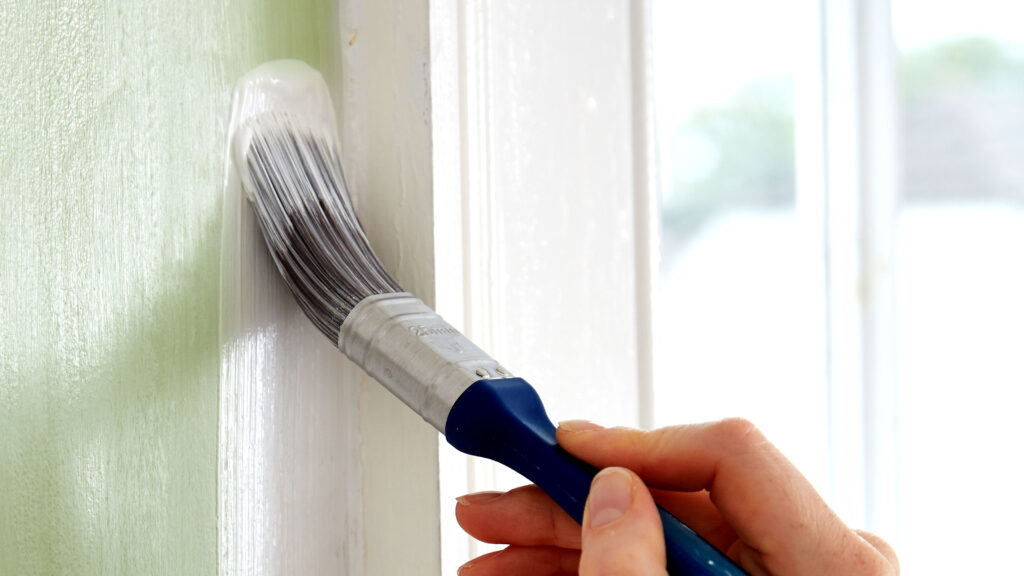
Mask Adjacent Surfaces and Fixtures
Use painter’s tape to protect siding, windows, brick, or metal fixtures. Cover nearby landscaping or decking with drop cloths.
Masking guarantees sharp lines and prevents messy overspray or drip, especially important with spray painting.
Technology That Simplifies Exterior Trim Prep
Prep work is faster and cleaner thanks to modern tools and technology:
- Electric sanders with dust collection reduce mess and provide even sanding
- Moisture meters help verify that wood is dry enough to paint
- Infrared scanners detect heat loss or water intrusion near trim
- High-adhesion exterior primers simplify coverage on challenging surfaces
These advancements save time and produce a higher-quality surface for long-lasting results.
Real-World Examples of Trim Prep Projects

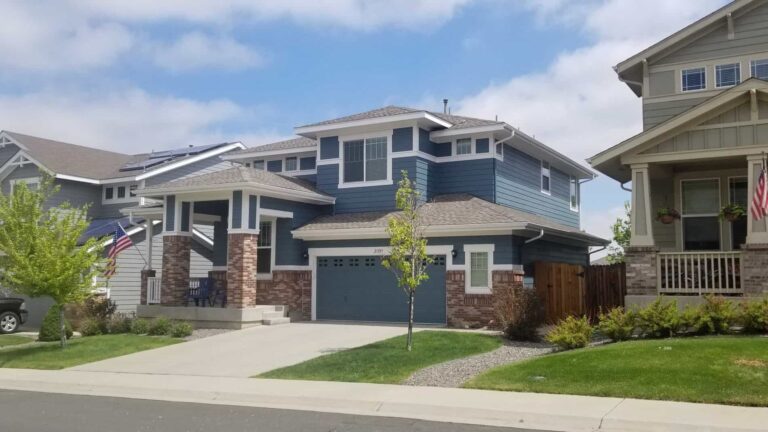
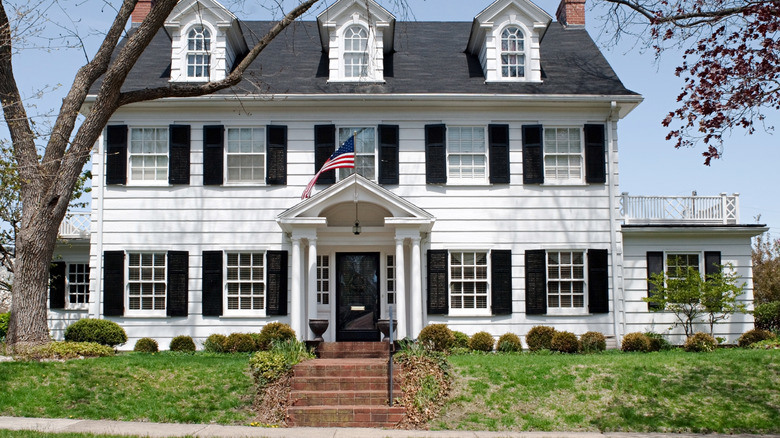
Park Hill Colonial Project
This home had faded trim with cracked caulk and peeling corners. Crews scraped, caulked, and primed with a bonding primer before applying bright white latex paint. The result was a striking contrast and clean lines that elevated the look.
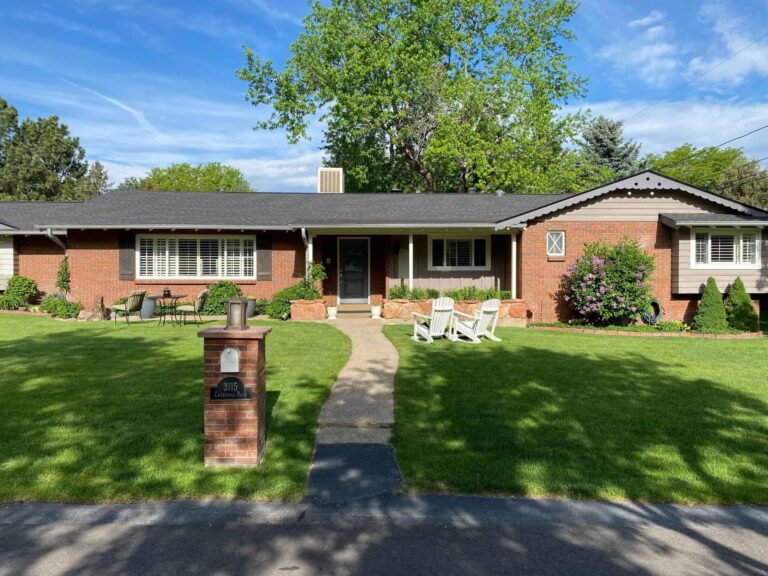
Briarwood Cottage Repaint
Years of sun exposure had dried out the wood. After detailed sanding and moisture testing, painters used a tinted primer to improve color depth for the final coat.
Glenhaven Restoration
This repaint required scaffolding and detailed prep. Trim was power-washed, sanded, repaired, and primed over four days. Clean separation lines around windows and gutters stood out thanks to careful masking and application.
Advantages of Prepping Exterior Trim the Right Way
Taking time to prep your exterior trim properly delivers lasting advantages:
- Increased paint life: Well-prepped trim holds paint longer without cracking
- Better appearance: Smooth, sealed trim enhances color uniformity and sharpness
- Weather resistance: Caulked and sealed joints keep water and pests out
- Reduced maintenance: Quality prep means fewer touch-ups over time
- Increased home value: Buyers notice clean, well-finished trim immediately
Every hour spent prepping saves days of repainting or costly damage repairs later.
Use Cases When Proper Trim Prep is Essential
1. Homes with Historic or Ornate Trim
Delicate woodwork needs extra care, hand scraping, sealing, and detailed brushwork to preserve decorative features.
2. Areas with Heavy UV or Rain Exposure
South-facing trim or coastal homes often require additional sealing and specialty primers to withstand harsh weather.
3. Prepping Before Selling a Home
First impressions matter. Trim is among the first features buyers see, so fresh prep and paint boost curb appeal.
Frequently Asked Questions (FAQ)
How do I know if my trim needs to be replaced before painting?
If the trim is soft to the touch, crumbling, or pulls away from the house, it’s likely rotted and should be replaced before painting. Sound wood can be repaired and primed.
What type of primer should I use on exterior trim?
Use an exterior bonding primer for bare wood or patched areas. For stained or oily wood, use a stain-blocking or shellac-based primer for best results.
Can I paint trim without sanding?
Technically, yes, but it’s not recommended. Sanding ensures proper adhesion, especially on glossy or previously painted surfaces. Skipping this step increases the risk of peeling.