Preparing Outside Wood for Painting Complete Guide for Lasting Results
Outdoor wood surfaces endure sun, rain, snow, and temperature changes. These elements break down the surface, leading to peeling, cracking, or warping paint. Proper preparation creates a strong foundation that allows paint to adhere and resist weather damage for years.
Skipping this step often leads to premature failure of your paint job. It can also result in structural damage to wood due to trapped moisture. Whether you’re tackling a deck, fence, or siding, thorough prep is essential.
How to Prepare Outside Wood for a Durable Paint Finish
Clean the Surface Thoroughly
Use a pressure washer or scrub brush with detergent to remove dirt, mildew, pollen, and loose particles. Let the wood dry completely before proceeding, at least 24 to 72 hours, depending on the weather.
Clean wood ensures paint penetrates the surface rather than sealing over debris, which can lead to flaking.
Scrape and Sand Old Paint
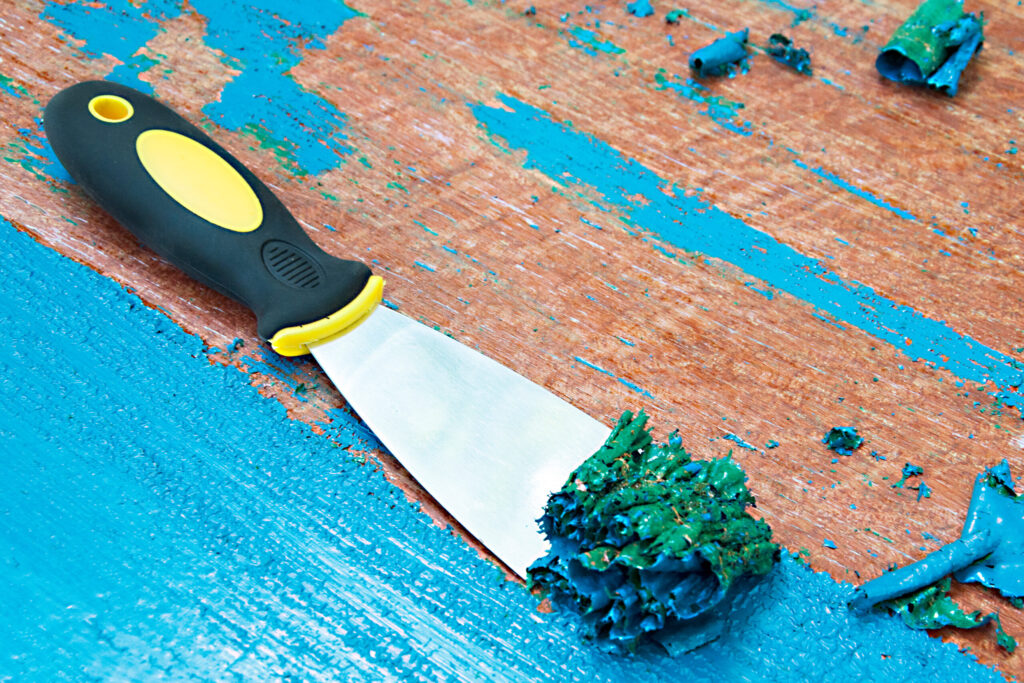
Remove all loose or peeling paint with a scraper. Follow up with sanding to feather the edges and create a uniform surface. Use 80- to 120-grit sandpaper for best results.
This step prevents bubbling or cracking and allows the new paint to bond securely.
Repair Any Damage
Inspect for cracks, rot, or holes. Use wood filler or epoxy for small repairs and replace any severely damaged boards. Secure loose nails or screws and caulk gaps.
Repairs not only improve aesthetics but also extend the wood’s lifespan.
Dry and Prime
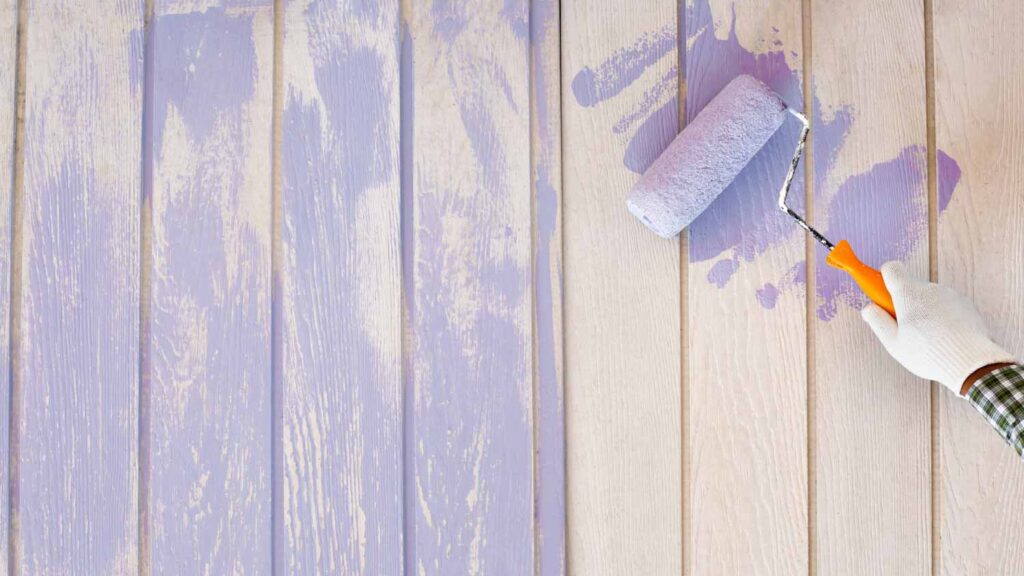
Moisture in the wood can prevent paint from adhering. Use a moisture meter to confirm that levels are safe (below 15%). Apply a quality exterior wood primer suited to your climate.
Primer seals the wood, blocks stains, and gives paint a stable base for uniform coverage.
Smart Tools and Technology for Better Prep Results
Modern tools streamline the prep process:
- Orbital sanders reduce manual fatigue and ensure even sanding
- Moisture meters help avoid painting too soon
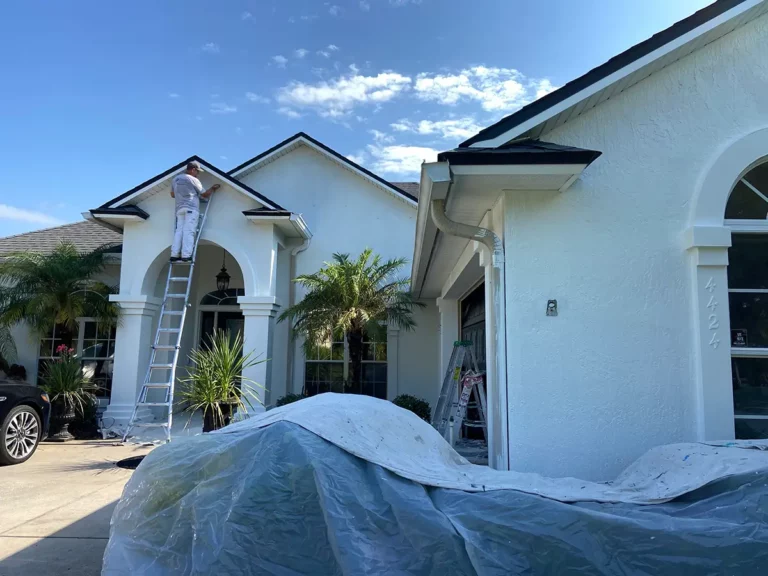
- Extension ladders with stabilizers improve access and safety
- Dustless sanding systems protect lungs and reduce mess
- Advanced caulking guns provide a smoother application
Using the right tools enhances efficiency and improves the outcome.
Real-World Examples of Successful Outdoor Wood Prep
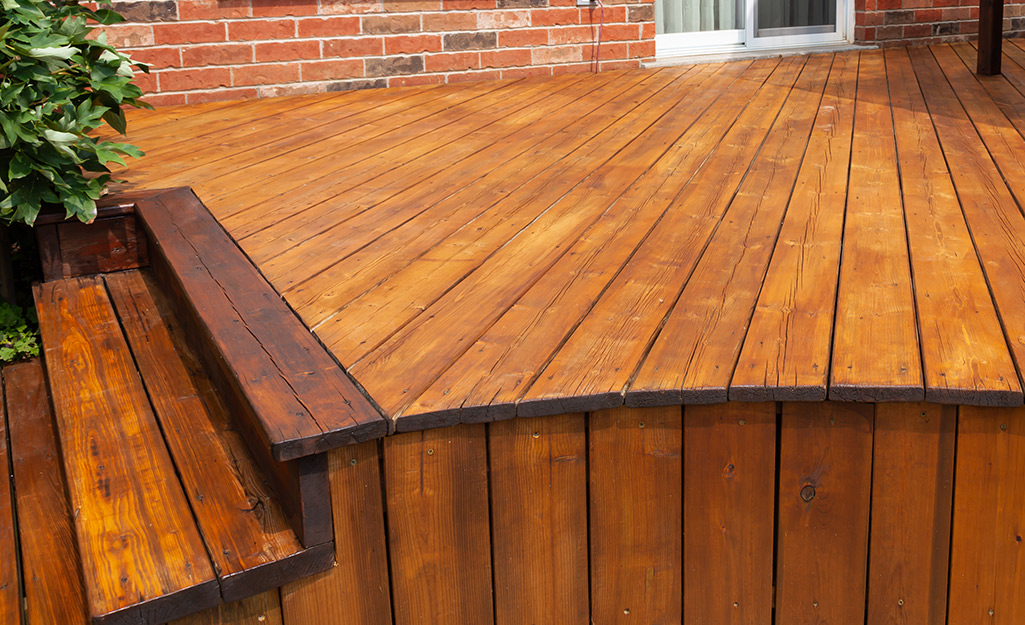
Ridgewood Deck Renovation
This weathered deck had years of old paint and mildew. It was pressure-washed, scraped, sanded, and treated for fungus. After drying, the wood was primed and painted with durable porch enamel.
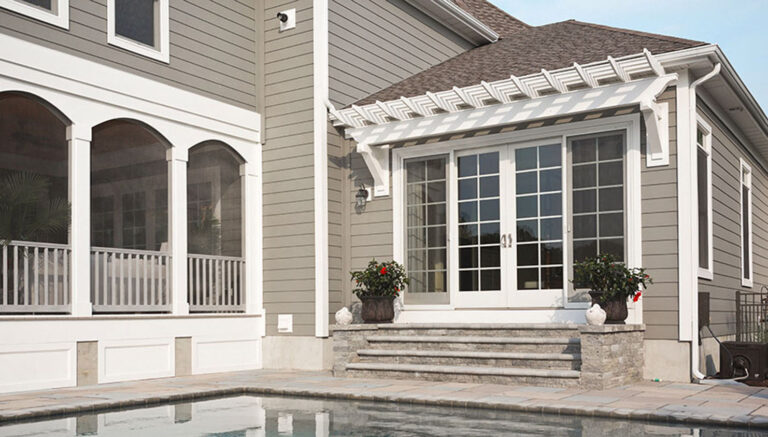
Suburban Garage Refresh
The garage had flaking paint and sun-damaged trim. Contractors stripped the paint, replaced rotten fascia, and filled cracks before priming. The result was a sleek, moisture-resistant finish.
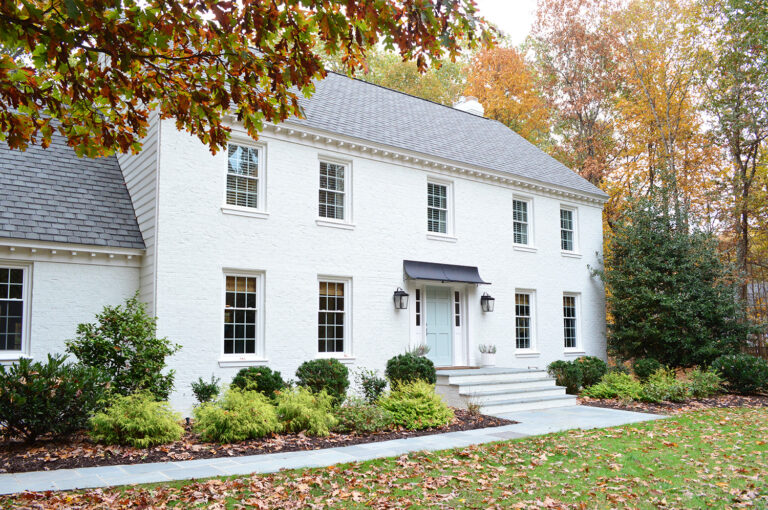
Victorian Window Detailing
The trim on this historic home needed careful prep. After sanding and filling gaps, painters masked edges and used a tinted primer for color accuracy. Final paint was smooth and flawless.
Benefits of Preparing Outside Wood Thoroughly
- Longer Paint Life: Strong adhesion means fewer repaints
- Moisture Protection: Sealed gaps prevent water infiltration
- Cleaner Appearance: Smooth, even paint looks more polished
- Less Maintenance: Fewer problems from peeling or mold
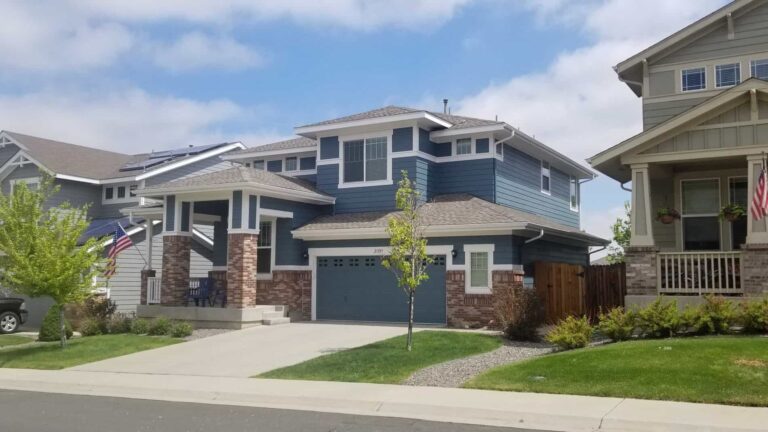
- Higher Value: Better curb appeal improves home equity
Skipping prep costs more in the long run. A well-prepped surface ensures durability and beauty.
When Prepping Outdoor Wood is Especially Important
1. After Harsh Weather
Rain, snow, or humidity can cause hidden damage. Prepping reveals and addresses these issues.
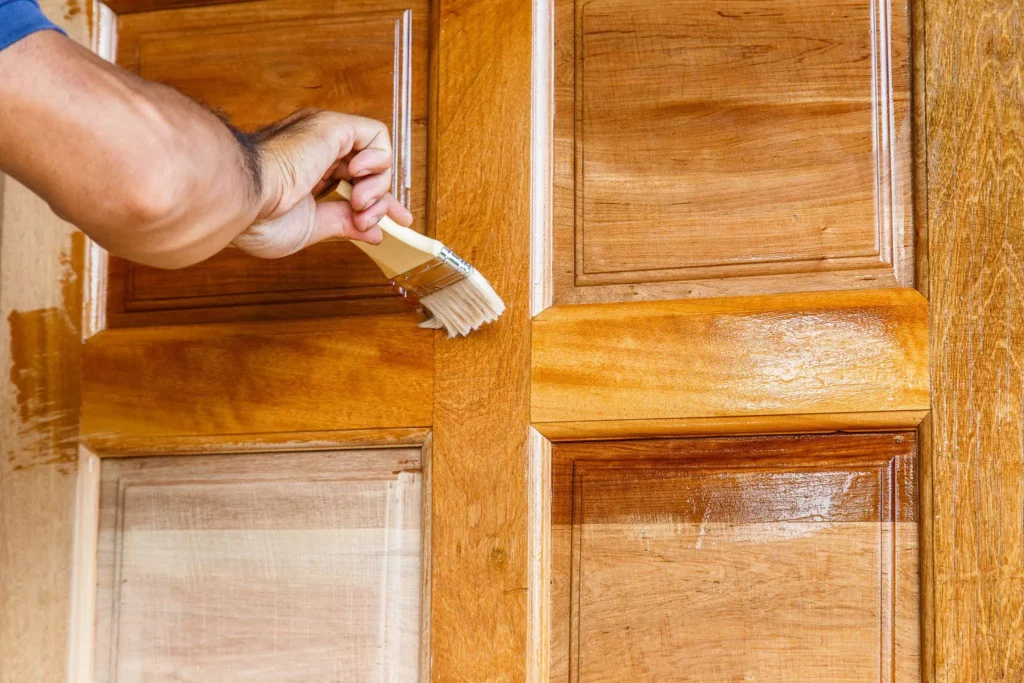
2. Before Painting High-Traffic Areas
Decks, railings, and doors suffer the most wear. Prep prevents premature wear and tear.
3. On New, Unfinished Wood
Even new wood needs cleaning and priming to remove mill glaze and improve adhesion.
Frequently Asked Questions (FAQ)
How do I know if my wood is dry enough to paint?
Use a moisture meter. Readings below 15% indicate the wood is ready. Avoid painting if it has recently rained or the surface feels damp.
Is sanding required for all outdoor wood surfaces?
Sanding is critical for smooth results and proper adhesion, especially if the surface is rough, glossy, or previously painted.
Can I skip primer if using exterior paint?
Primer is highly recommended, especially on bare wood or patched areas. Paint-and-primer combos don’t perform as well in challenging outdoor conditions.