How to Prepare Outdoor Wood for Painting Expert Guide for Lasting Results
Outdoor wood is constantly exposed to sunlight, rain, and temperature fluctuations. These elements make wood vulnerable to cracking, swelling, and mildew if not protected with the right paint and, more importantly, the right preparation. Preparing the surface properly ensures that the paint adheres more effectively, lasts longer, and provides genuine protection.
Skipping preparation may result in flaking paint, moisture intrusion, and costly repairs. That’s why knowing how to prepare outdoor wood before painting is key for homeowners, contractors, and commercial property managers alike.
Steps to Prepare Outdoor Wood for Painting
Clean the Surface Thoroughly
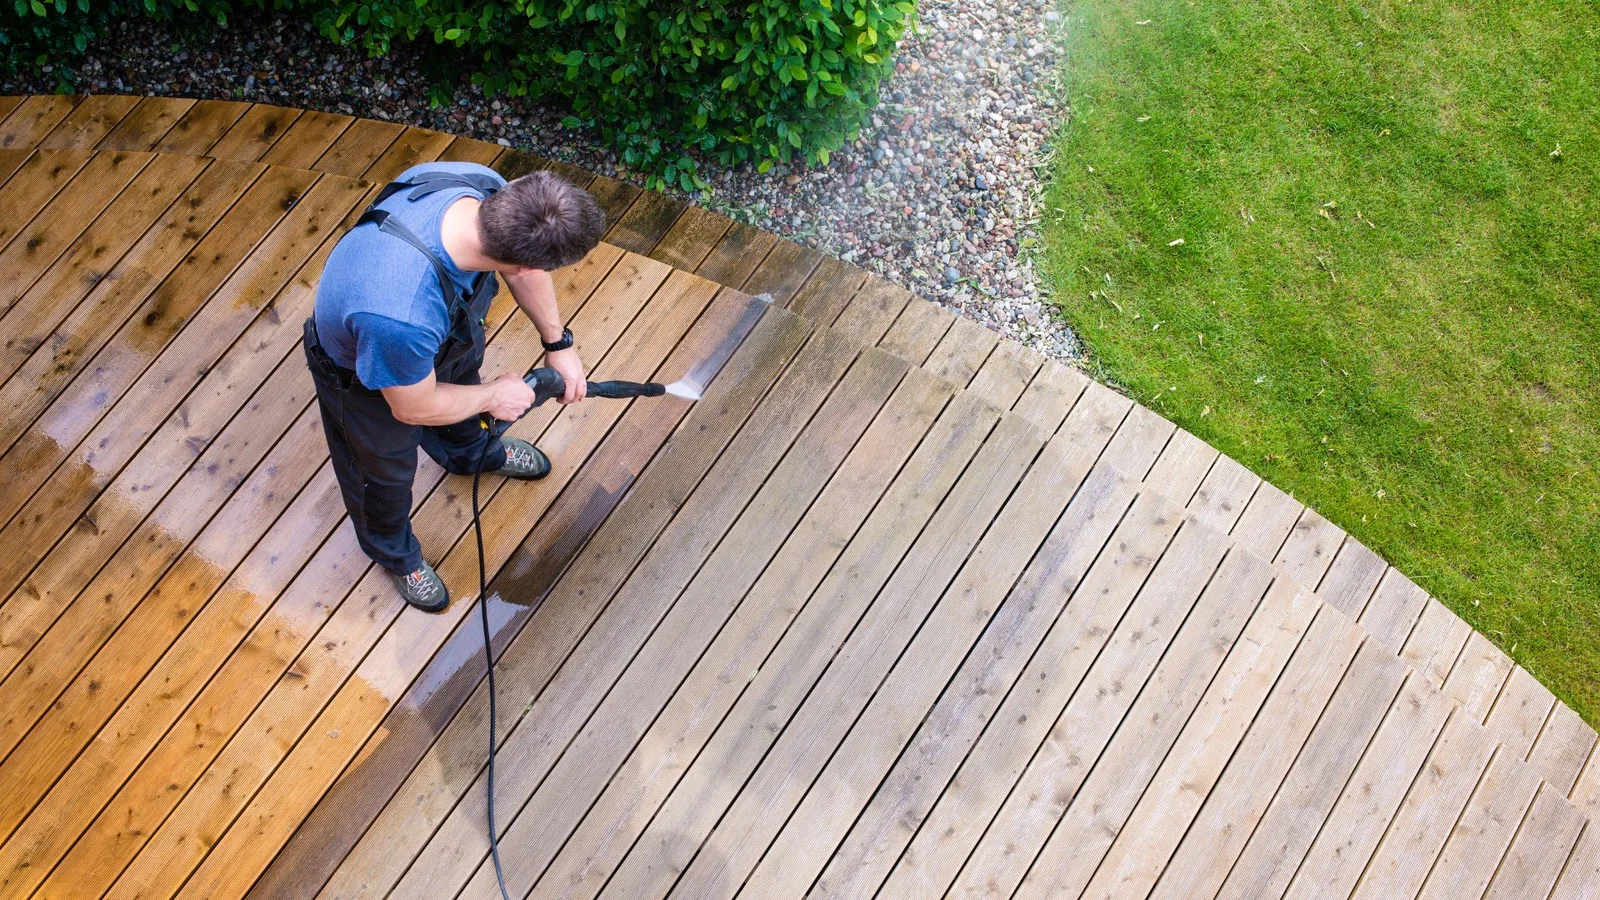
Outdoor wood collects grime, mold, mildew, and algae. Cleaning is the first step. Use a pressure washer or scrub with a mixture of water, TSP, and a biodegradable cleaner. Rinse and let the wood dry fully, typically 1–2 days.
A clean surface ensures the paint bonds directly to the wood, not to dirt or biological growth.
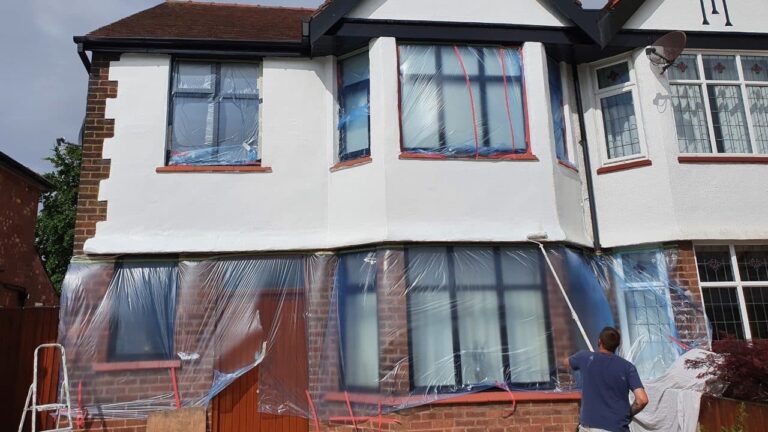
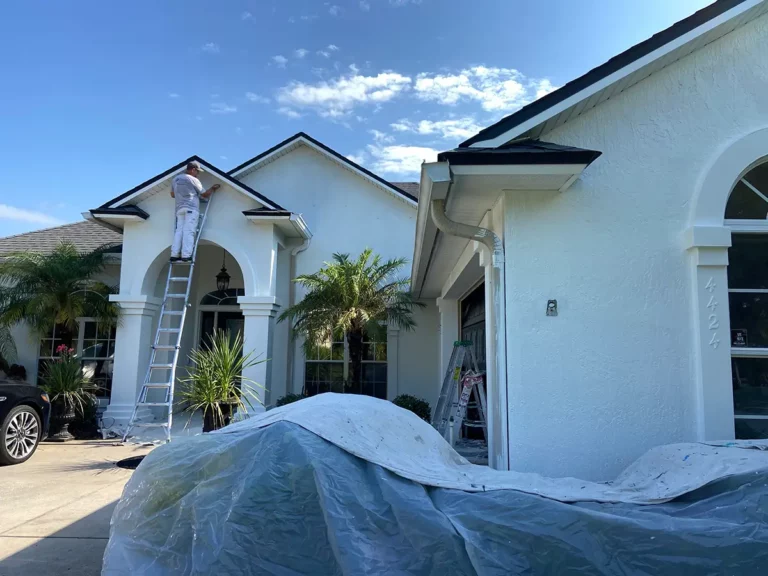
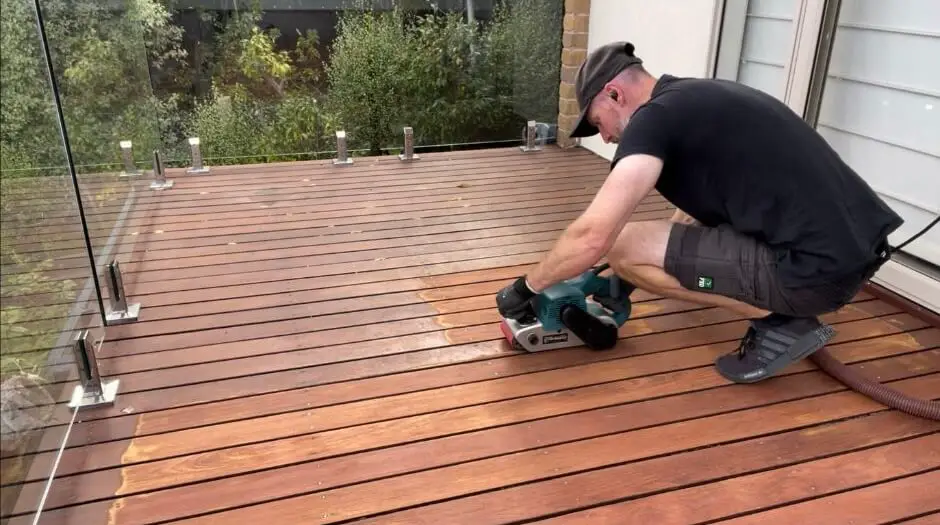
Remove Peeling Paint or Stain
Use a scraper, putty knife, or power sander to remove old paint. If the surface has multiple layers, chemical strippers may help. Smooth the edges with medium-grit sandpaper for an even surface.
Removing old paint prevents bubbling or flaking of new coats and uncovers areas that need repair.
Repair and Restore Damaged Areas
Check for rotten sections, loose nails, or splits. Use wood filler or epoxy to patch up cracks and holes. Replace any unsalvageable boards. Caulk gaps where water might seep in, especially around joints.
Restoring the structure not only enhances the look but also prolongs the life of both the wood and the paint.
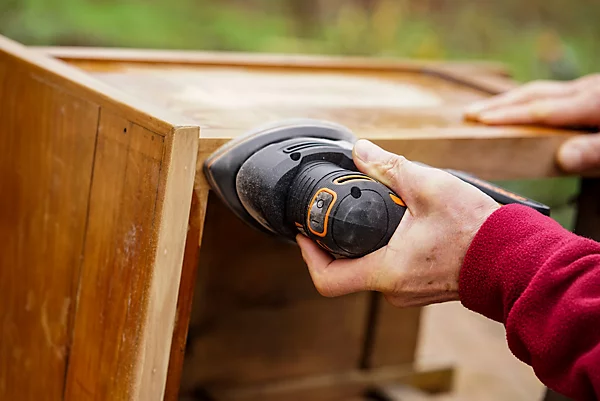
Sand the Wood Surface
Sanding improves adhesion by roughening the surface and removing any remaining gloss. Use 80–120 grit sandpaper, depending on the wood’s condition. Always sand along the grain.
After sanding, wipe down the surface with a damp rag or tack cloth to remove dust.
Apply Exterior Wood Primer
Use a primer that matches the paint type (latex or oil-based). For bare wood, a stain-blocking, exterior-grade primer works best. It seals pores, covers imperfections, and prevents tannin bleed from knots or sap.
Let the primer cure completely before applying paint, usually for 24 hours.
Modern Tools That Make Prep Easier
Technology and tool advancements have made prepping outdoor wood faster and safer:
- Cordless orbital sanders reduce hand fatigue and increase mobility
- Digital moisture meters help ensure optimal surface dryness
- Power washers with adjustable PSI clean thoroughly without damaging wood
- Eco-friendly stripping agents make paint removal safer
- High-performance exterior caulk resists shrinking and cracking
These tools help reduce prep time while delivering a higher quality finish.
Real-Life Examples of Outdoor Wood Preparation
Greenfield Porch Restoration
This aging porch had flaking paint and mildew stains. The team power-washed the railings, filled cracks with epoxy, and hand-sanded intricate details. A mold-resistant primer set the stage for a smooth, lasting topcoat.

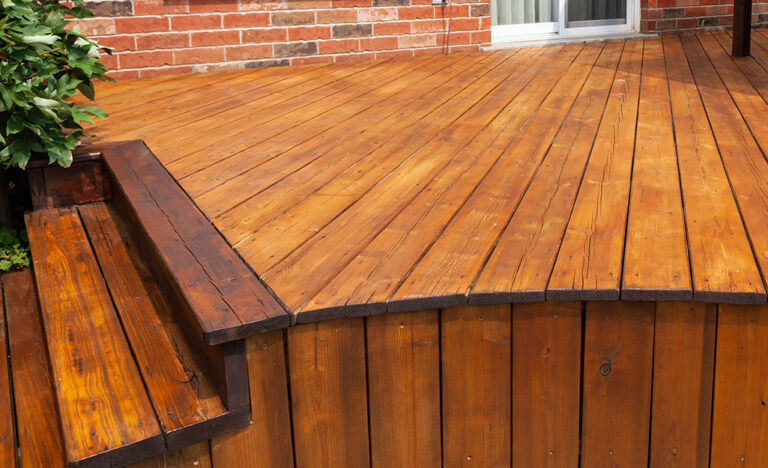
Sunrise Hills Deck Revival
Overexposure to UV and rain made the deck grey and splintered. After deep cleaning and sanding, a semi-transparent sealer was applied. The result was a refreshed look and improved weather resistance.
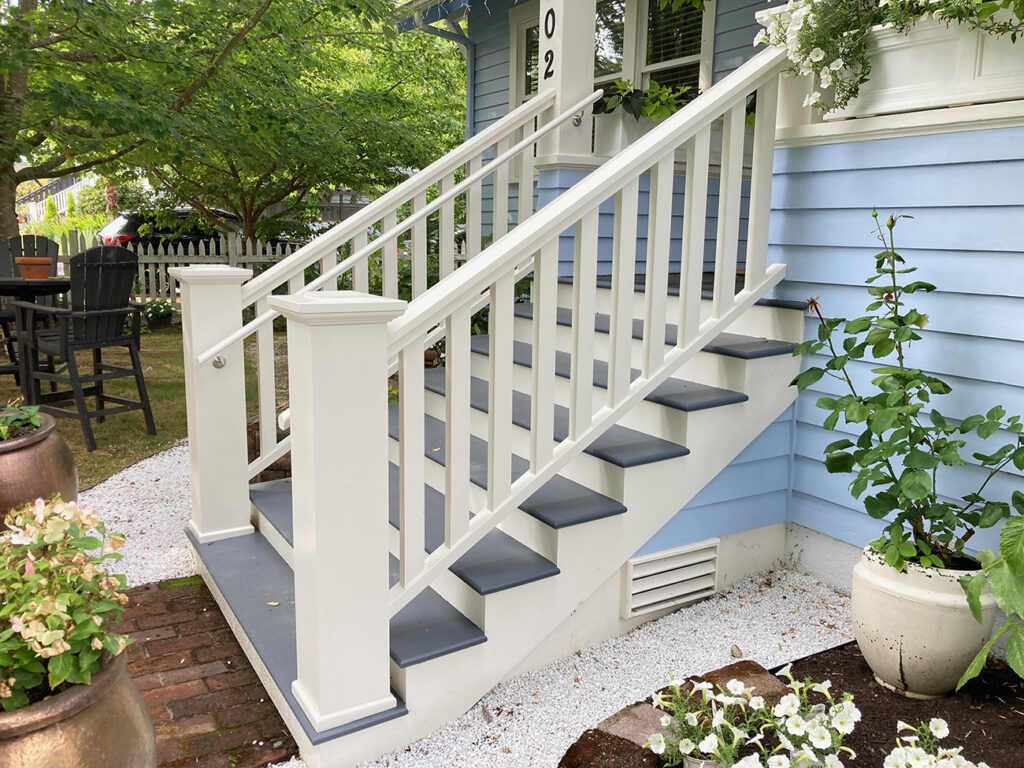
Bayside Apartment Steps Project
The stair treads were cracked and waterlogged. Rotten sections were replaced, then sealed with bonding primer. Final paint layers added both beauty and safety through non-slip additives.
Benefits of Proper Outdoor Wood Prep
Why is all this work worth it? Because:
- Durability: Prepped surfaces hold paint longer and reduce maintenance
- Weatherproofing: Gaps and cracks sealed during prep to stop water damage
- Curb appeal: Fresh, even paint improves property value and visual charm
- Cost savings: Fewer repaints and repairs needed over time
- Safety: Addressing rot or weak spots prevents accidents
Put simply, preparation is your best defense against nature.
When Preparation is Essential
1. Before Selling or Renting a Property
A clean, freshly painted deck or trim can be the first impression buyers see.
2. On Coastal or Humid Properties
These environments require superior sealing and moisture control through quality prep.
3. Repainting After Neglect
If the surface hasn’t been painted in 10+ years, it likely needs extensive prep, including patching, sanding, and priming.
Frequently Asked Questions (FAQ)
What happens if I don’t sand outdoor wood before painting?
The paint may not adhere well, leading to peeling, bubbling, or chipping. Sanding opens the wood grain for better bonding.
Do I always need to use primer?
Yes, especially on bare wood or surfaces with patch repairs. Primer ensures even coverage and prolongs paint life.
How long should wood dry after washing?
Let it dry 24–48 hours, depending on the climate. Use a moisture meter to confirm levels below 15% before proceeding.