Prep for Painting Outside of House Complete Exterior Painting Preparation Guide
Prepping for painting the outside of your house is the most important part of any exterior project. While selecting premium paint matters, without proper surface prep, your results won’t last, no matter how expensive the paint is.
Taking the time to prep properly prevents early paint failure, bubbling, and mildew issues. It ensures better adhesion, stronger protection against the elements, and a finish that looks beautiful for years.
Detailed Exterior Prep Process Explained
Thorough Cleaning First
The outside of your house gathers dust, mold, spider webs, and old paint chalk. Power washing is the fastest way to clean it all off. You can also use a scrub brush and mild detergent. Let the surface dry thoroughly before doing anything else.
Moisture trapped beneath paint will cause peeling, so timing the dry period is crucial. A minimum of 24 to 48 hours is typically needed.
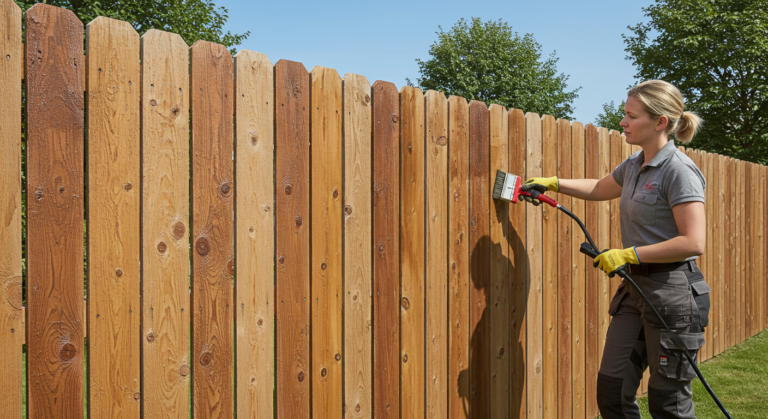
Scrape and Sand Problem Areas
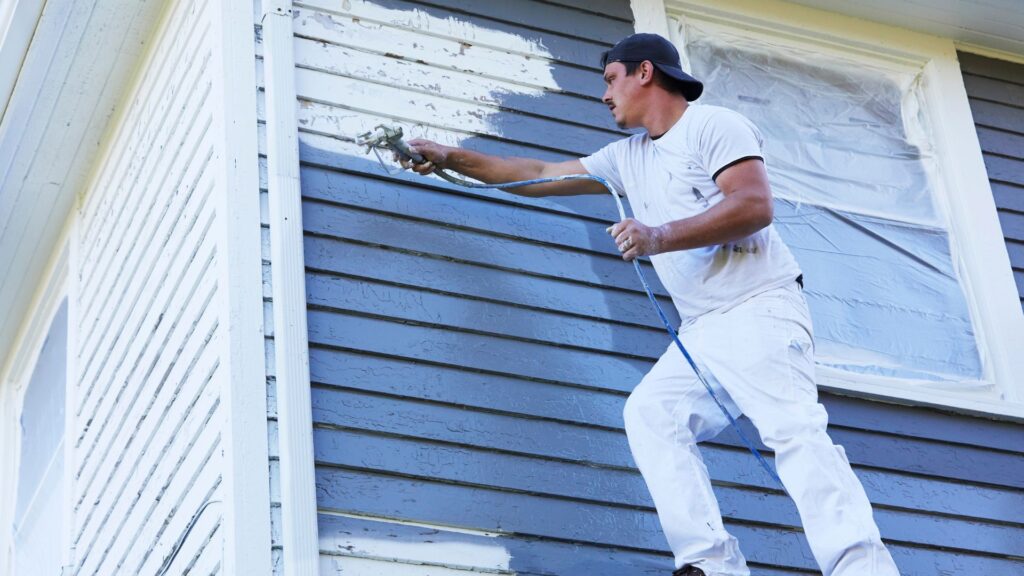
Scraping off old, flaking paint makes sure the new layer bonds well. Sanding smooths rough patches and dulls any glossy surfaces. Sanding also feather-blends the edges between old and bare spots.
This step is labor-intensive but critical. Sloppy prep means uneven coverage and fast wear.
Repair Exterior Damage
Exterior wood, trim, or siding often has cracks, gaps, or water damage. Use epoxy wood filler, flexible caulk, or replace severely rotted sections.

Repairs should be flush with the surrounding area and completely cured before painting begins. Priming immediately after repairs will seal and protect the surface.
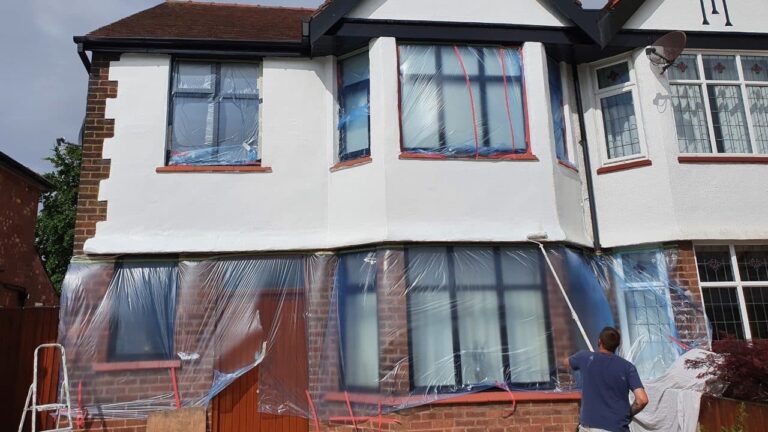
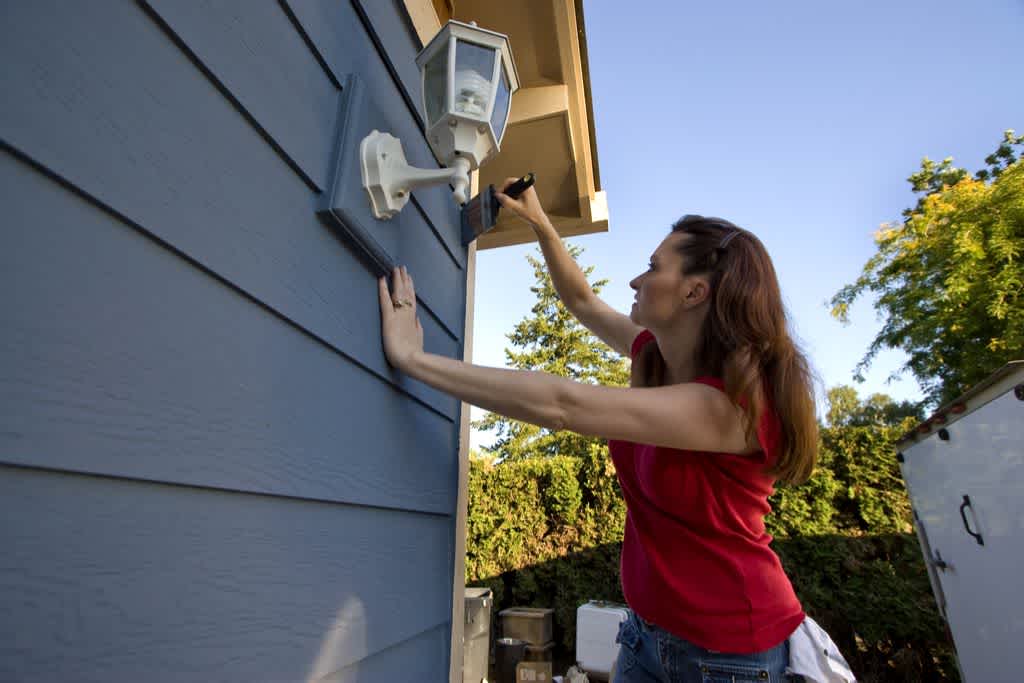
Tape and Cover Surfaces
Windows, doors, light fixtures, and landscaping need protection. Use painter’s tape, plastic sheeting, and fabric drop cloths.
Taking time here means cleaner lines, fewer touch-ups, and better curb appeal.
Prime Bare and Problem Areas
Bare wood and patched zones need primer. Primer seals the surface, helps paint adhere, and promotes even color. Use a latex or oil-based primer based on your paint type and surface material.
Technology That Improves Exterior House Prep
Modern technology simplifies prep and boosts precision:
- Moisture meters show if the wood is too wet to paint
- Power sanders with dust collection reduce cleanup time
- Infrared thermometers help check surface temperature
- Laser line tools ensure straight masking lines
- Rotating brushes for drills clean faster and deeper
These tools increase efficiency, safety, and consistency.
Real Examples of Proper Prep Before Exterior Painting
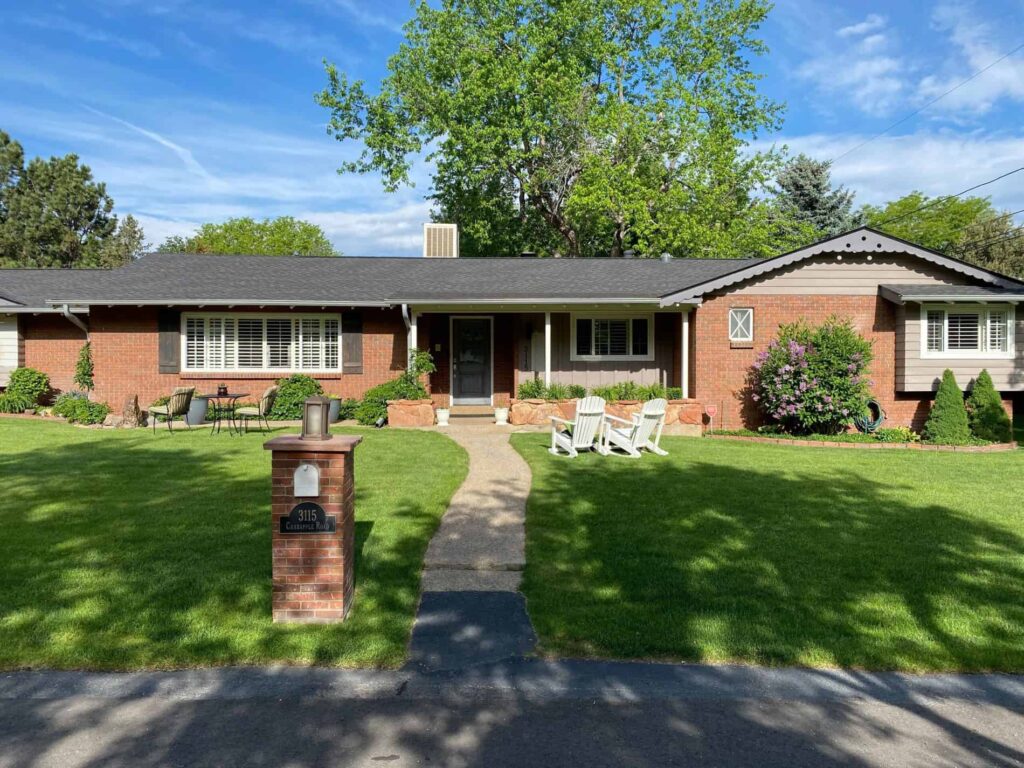
Ranch Home in Denver
Decades-old siding was covered in grime and flaking paint. After power washing, sanding, and replacing damaged trim, the final coat went on smoothly and has lasted multiple winters without issues.
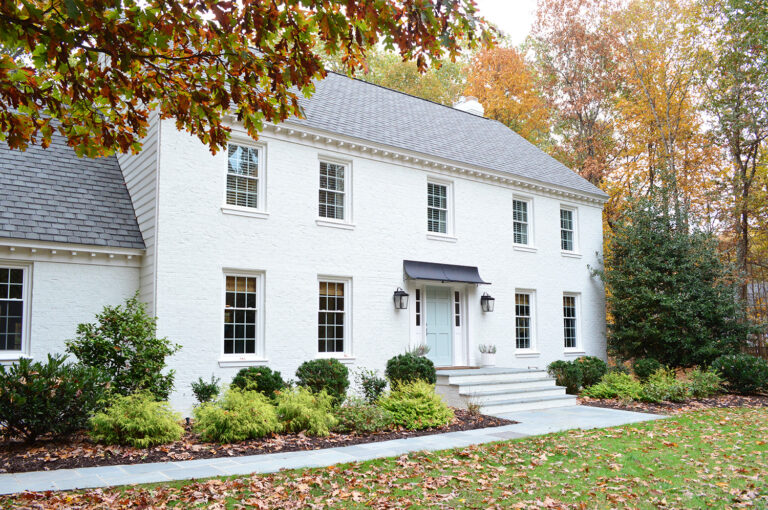
Colonial Home in Pennsylvania
This historic home required gentle cleaning, rot repair, and oil-based priming. The final result preserved its original style while providing modern protection.
Southwestern Stucco Home
Stucco walls were dusty and cracked. Workers patched, masked, and used specialized masonry primer. The vibrant finish still holds strong after years of sun exposure.
Key Benefits of Thorough Exterior House Prep
- Better Adhesion: Paint sticks tighter and lasts longer
- Weather Resistance: Prep blocks moisture and UV damage
- Clean Finish: Sanded and repaired surfaces look professional
- Structural Protection: Seals out water, insects, and mold
- Longevity: Prep can extend the life of your paint by years
Skipping prep often leads to costly redos and frustration. Doing it right from the start pays off.
Situations That Require Extra Attention During Prep
1. Painting in Coastal or Humid Climates
These areas require extra drying time and mildew treatment. Use mold-inhibiting cleaners and test for moisture content before priming.
2. Houses with Old Lead Paint
Follow EPA guidelines. Don’t sand or scrape lead-based paint without proper safety gear or containment.
3. Changing Paint Types
Switching from oil to latex requires a bonding primer. Failing to prep properly can result in peeling.
Frequently Asked Questions (FAQ)
Can I skip priming if the surface looks fine?
No. Even clean-looking surfaces need primer in many cases, especially bare wood, patched areas, or color changes.
How long after cleaning can I paint the house?
Wait at least 24 to 48 hours for full drying, depending on humidity and weather. Moisture under paint causes adhesion problems.
Is sanding necessary?
Yes. It creates a rough surface for the paint to grab onto and blends old paint with bare spots for smoother results.