Exterior Wood Painting Preparation The Ultimate Guide to a Lasting Finish
Painting exterior wood isn’t just about slapping on a new coat of paint. Proper surface preparation is the foundation of a durable and professional-looking finish. Wood is a natural material that expands, contracts, and absorbs moisture. If you skip the prep work, you risk premature peeling, mold growth, and paint failure.
Prepping the wood creates a clean, stable surface for paint to adhere to. It also reveals hidden damage like rot, cracks, or insect infestations, giving you a chance to address them before they worsen. Whether it’s siding, trim, decks, or fences, well-prepped wood surfaces extend the life of your paint job and boost your property’s curb appeal.
Step-by-Step Guide to Exterior Wood Painting Preparation
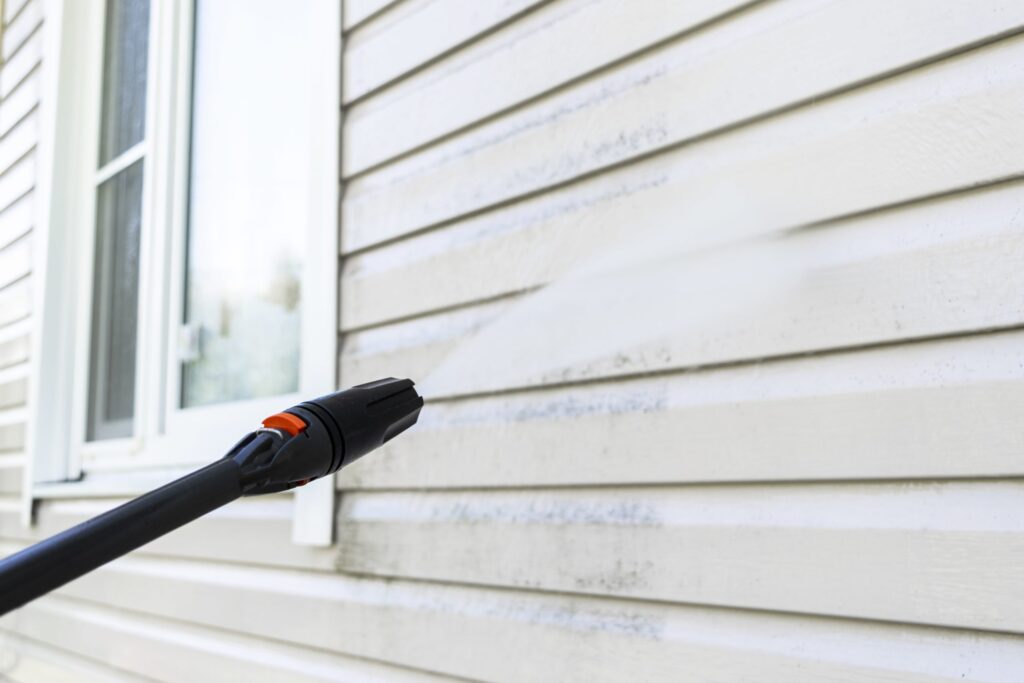
Wash the Surface
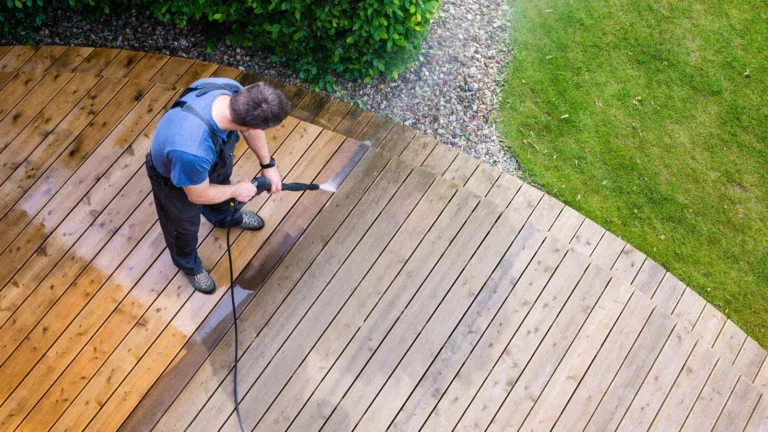
Dirt, mold, and mildew can prevent paint from bonding. Use a pressure washer or scrub with a mix of water, TSP, and a mildew killer. Rinse thoroughly and let the surface dry for 24–48 hours.
Cleaning is vital to remove contaminants and ensure the new coat penetrates and bonds with the wood.
Remove Old, Flaking Paint
Scrape away any loose or peeling paint using a paint scraper or putty knife. Follow up with medium-grit sanding to feather rough edges and smooth the surface.
This creates a consistent texture that helps new paint adhere and look uniform.
Repair Damaged Areas
Inspect for rot, cracks, or holes. Use wood filler or exterior epoxy to fix imperfections. Replace any boards that are severely damaged or waterlogged.
Proper repairs prevent structural issues and ensure the surface is smooth and solid before painting.
Step 4: Sand the Entire Surface
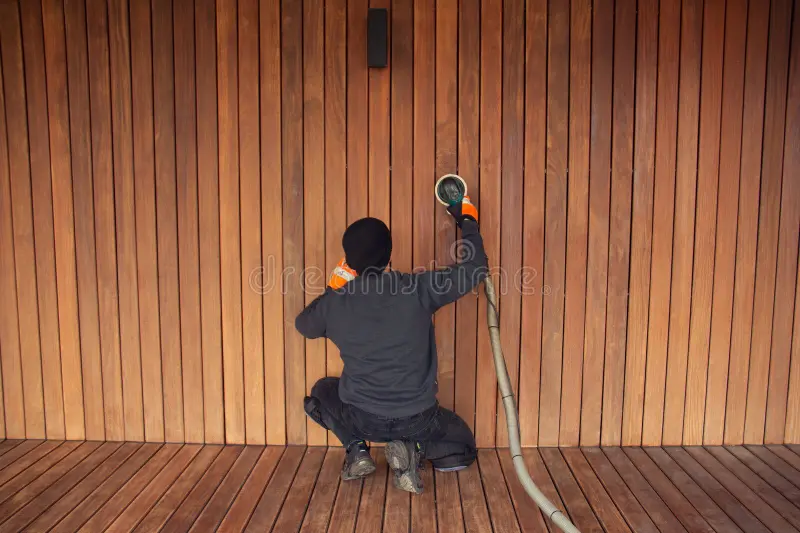
Sand all areas to remove gloss from old paint and open the wood grain for better paint adhesion. Focus on corners, joints, and grainy areas. Clean up the dust with a tack cloth or blower.
Thorough sanding prevents paint from peeling or bubbling and provides a better finish.
Prime the Wood
Use an exterior primer suitable for the wood type and topcoat paint. Oil-based or bonding primers work best on bare or previously painted wood.
Priming seals the surface, blocks stains or knots, and improves paint coverage and longevity.
Technology Advancements in Wood Prep
Modern tools simplify the hard work:
- Electric pressure washers speed up cleaning with adjustable settings
- Moisture meters ensure surfaces are dry before painting
- Rotating sanders with dust extraction minimize cleanup and improve efficiency
- Caulking guns with dripless tech make sealing joints easier
These innovations reduce labor while improving surface readiness and overall results.
Real-World Examples of Wood Painting Preparation Projects
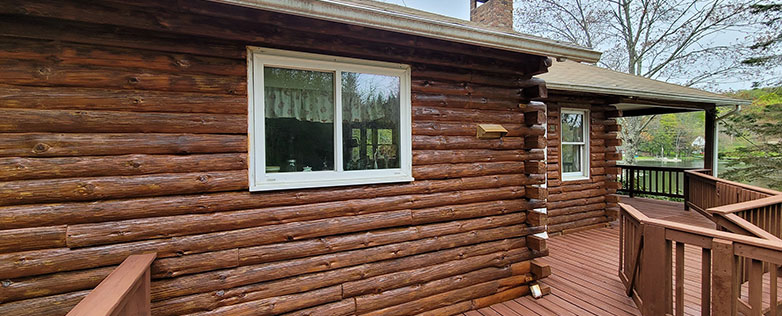
Pine Valley Cabin Repaint
The wood siding had years of UV damage and dried-out knots. Crewspower-washed, sanded with 80-grit, applied a knot-sealing primer, and then painted with a high-build latex paint. The prep extended the paint life by 8+ years.
Maple Street Victorian Touch-Up
The ornate trim required hand-sanding and custom filler to restore details. A tinted shellac primer locked in tannins, followed by three layers of low-VOC paint for depth.
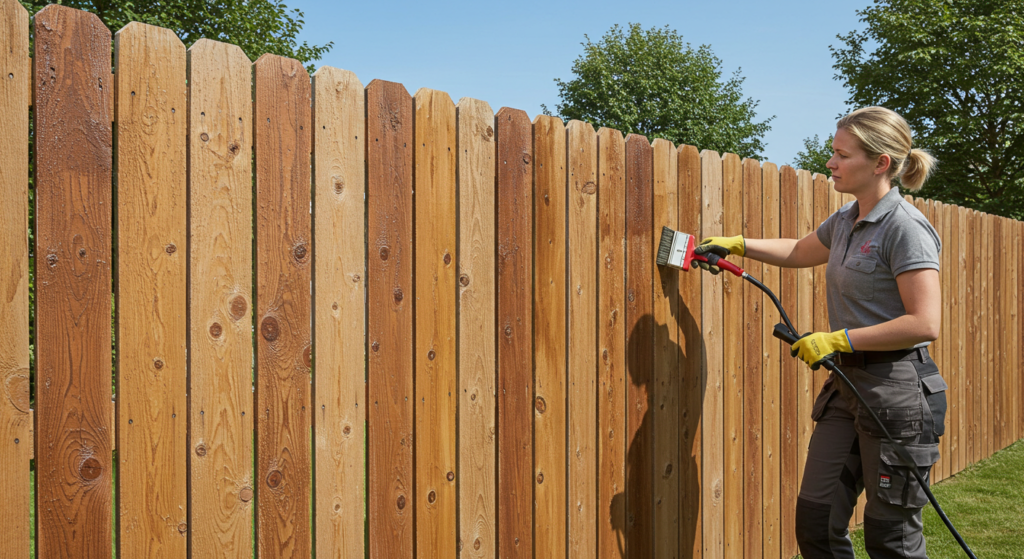
Hillside Ranch Fence Revamp
Workers removed mildew, replaced rotted posts, and caulked splits before applying semi-transparent stain. Surface prep improved both durability and visual texture.
Benefits of Proper Wood Surface Prep
Prepping wood properly delivers long-term performance:
- Longer paint life: Good prep ensures the paint adheres and resists the elements
- Less maintenance: Surfaces stay cleaner, resist peeling, and require fewer touch-ups
- Better appearance: Smooth, sealed wood takes paint more evenly
- Protection from pests and moisture: Caulking and sealing prevent intrusion
- Increased property value: Professional-quality finishes boost curb appeal
Time spent upfront prevents costly repairs and repainting later.
Use Cases When Prep is Especially Crucial
1. Old or Weathered Wood Surfaces
Sun, wind, and rain can severely damage untreated or aged wood. Deep prep, including replacement and heavy sanding, is vital for good results.
2. High-Moisture Climates
In coastal or humid areas, sealing and moisture-resistant primers are essential to prevent mold and swelling.
3. Painting for Resale or Rental Properties
A fresh, professional finish on wood surfaces gives your home or property a polished look that appeals to buyers and tenants.
Frequently Asked Questions (FAQ)
What is the best primer for exterior wood?
Look for oil-based or bonding exterior primers. These seal the wood, prevent tannin bleed, and provide excellent adhesion for topcoats.
Can I paint over stained or treated wood?
Yes, but the surface must be sanded to remove gloss, and a bonding primer must be used to ensure adhesion.
How long should I wait after washing before painting?
Allow 24–48 hours of dry time, depending on humidity and wood type. Use a moisture meter to confirm the surface is under 15% moisture content before painting.