Prepping for Exterior Paint Expert Steps for a Long-Lasting Finish
Paint is only as good as the surface it’s applied to. Prepping for exterior paint is not just an optional step; it’s a necessity for lasting results. Neglecting proper surface preparation can lead to issues like bubbling, peeling, mildew growth, or uneven color.
When surfaces are properly cleaned, repaired, and primed, the paint bonds better, covers more evenly, and resists weather damage longer. That’s why professionals spend more time on prep than painting itself.
Essential Steps in Prepping for Exterior Paint
Thorough Surface Cleaning
Start with power washing or hand scrubbing to remove dust, chalk, mold, and old flaking paint. A clean surface ensures strong adhesion. Use a mildew killer and degreasing agents like TSP (trisodium phosphate) for stubborn grime.
Wait at least 24-48 hours after washing before painting. Painting over damp surfaces locks in moisture, which causes bubbling or early failure.
Scraping Loose Paint and Sanding
Old, peeling paint must be removed to expose solid, stable layers. After scraping, sand the surface smooth using medium to fine grit. Even intact areas should be lightly sanded for better paint grip.
Power sanders make large areas easier to handle. Focus especially on trim, corners, and rough wood grain.
Surface Repairs
Exterior surfaces often have cracks, holes, or rotten wood. Use epoxy filler, caulking, or replace badly damaged boards. These fixes must cure fully before paint or primer is applied.
Failing to patch surfaces will result in water leaks and unsightly blemishes showing through your fresh paint.
Prime Where Needed

Priming helps paint bond to the surface, especially on bare wood, patched areas, or major color changes. Choose an exterior-grade primer suitable for the surface, latex for new wood, and oil-based for old or stained areas.
Spot priming works for minor repairs, but full priming is better when repainting older surfaces or switching from dark to light colors.
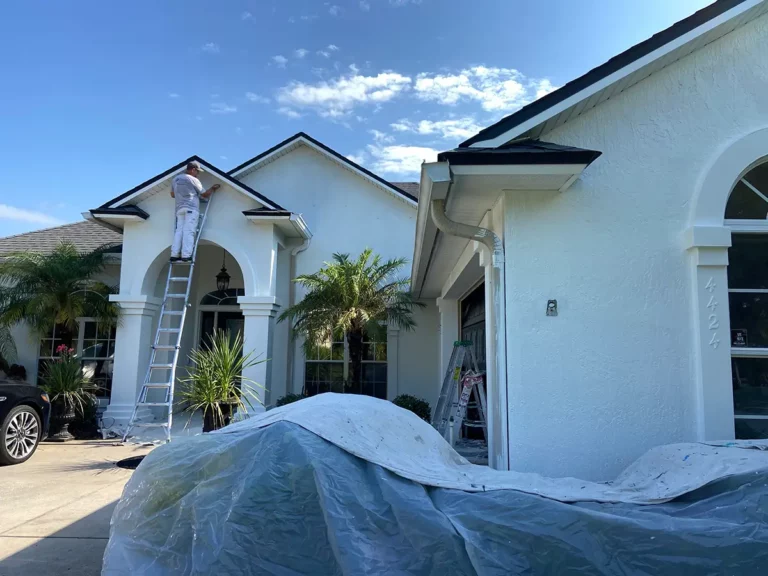
Masking and Protecting Non-Paint Areas

Cover anything you don’t want painted, like windows, lights, vents, or shrubs. Use painter’s tape, plastic sheeting, and drop cloths. This not only protects your home but also creates crisp paint lines and cuts cleanup time.
Smart Tools and Technology That Improve Prep Work

Modern tools reduce time and increase accuracy:
- Moisture Meters: Prevent painting damp wood by ensuring surfaces are dry.
- Power Sanders with Dust Extraction: Keep surfaces smooth and reduce airborne particles.
- Infrared Thermometers: Verify the surface temperature is within the right range for paint application.
- Chemical Paint Strippers: Help with stubborn coatings or lead-based paint removal.
Technology helps DIYers and pros avoid common mistakes like painting in bad conditions or skipping necessary prep steps.
Real-World Use Cases and Examples

1. Suburban Ranch House in Oregon
This home had flaking paint due to years of damp weather. A combination of pressure washing, mildew treatment, sanding, and primer gave the surface new life. Three years later, the paint remains vibrant and crack-free.
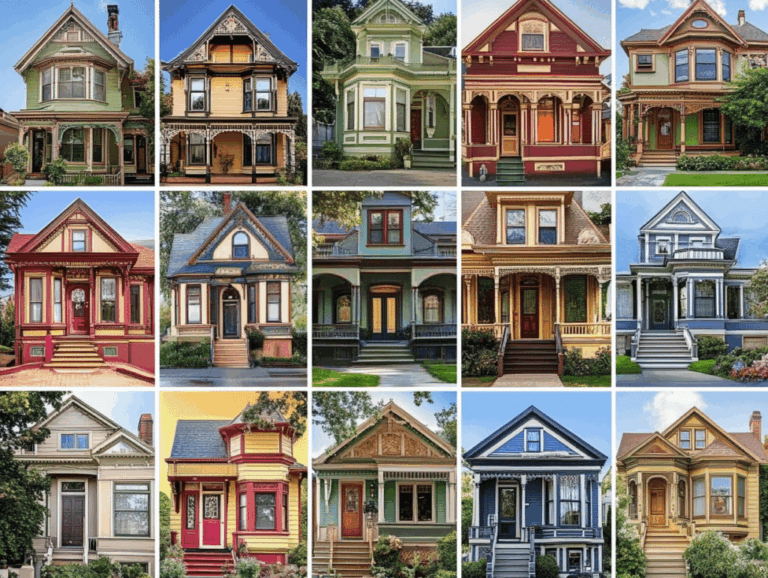
2. Craftsman Style Home in Denver
The dry climate had cracked the caulking and dried the wood. Contractors repaired gaps, applied flexible caulk, and sanded decorative trim. They used oil-based primer for longevity. The aesthetic remained authentic while improving weather resistance.
3. Seaside Cottage in North Carolina
Due to salt air and frequent storms, the cottage needed specialized prep. That included corrosion-resistant filler, anti-mildew wash, and marine-grade primer. Paint adhered better and resisted salt damage for years.
4. Apartment Complex in Arizona
The building faced sun damage and chalking. A deep clean with TSP and power washing removed residue. A UV-resistant primer ensured long-lasting results even under desert sun.
5. New Construction in Texas
Prepping new wood meant sanding mill glaze and sealing knots. The extra steps reduced bleed-through and discoloration, resulting in a cleaner finish that will require fewer touch-ups.
Benefits of Proper Exterior Paint Preparation
- Extended Paint Life: Proper prep can double your paint’s lifespan.
- Better Adhesion: Surfaces hold paint better when clean and primed.
- Moisture Control: Prevents trapped water that causes bubbling or mold.
- Aesthetics: A smooth surface looks more professional and polished.
- Reduced Maintenance: Avoids early repainting and costly repairs.
Ignoring prep may save a few hours today, but cost you years of paint performance.
When Prepping for Exterior Paint Is Especially Important
Extreme Weather Zones
Homes in hot, wet, or coastal regions face higher risks of paint failure. Prepping is non-negotiable in these climates.
Old or Previously Painted Surfaces
Multiple coats may hide problems like rot, loose nails, or mold. Prep exposes and addresses these issues before paint goes on.
Selling or Renovating Your Home
If curb appeal matters, a poorly prepped paint job will show. Proper preparation is a sign of quality for prospective buyers or tenants.
Frequently Asked Questions (FAQ)
Is power washing enough to prep a surface for paint?
Not on its own. Power washing is just the first step. Scraping, sanding, and priming are usually still necessary to ensure good adhesion and durability.
Can I paint over peeling paint if I use primer?
No. You must scrape off loose paint first. Primer won’t hold failing paint in place. You need a sound surface for paint to stick properly.
How long should I wait after washing before I start painting?
Wait at least 24–48 hours. If conditions are humid, allow more drying time or use a moisture meter to confirm dryness.