Prepping Exterior House for Paint A Complete Homeowner’s Guide
Proper preparation is the foundation of a successful exterior paint job. No matter how expensive or high-quality the paint is, without solid prep, it will fail prematurely. That means flaking, bubbling, or discoloration, all of which waste time and money.
The key is addressing the condition of the surface before applying anything. When the exterior is clean, dry, smooth, and properly sealed, the paint has the best chance to adhere and perform over the long term.
Step-by-Step Exterior Prep Process
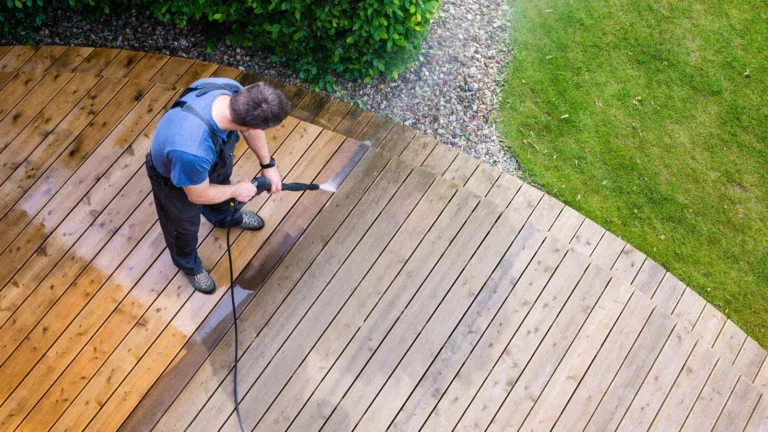
Start with a Deep Cleaning
The surface must be free of dust, chalk, mildew, grease, and peeling paint. Power washing is highly effective for most homes, though hand scrubbing works for small sections. Cleaning agents like trisodium phosphate (TSP) can help cut grease and kill mildew.
After cleaning, give it 24 to 48 hours to fully dry. Painting over damp surfaces will lead to bubbling, poor adhesion, and eventual peeling.
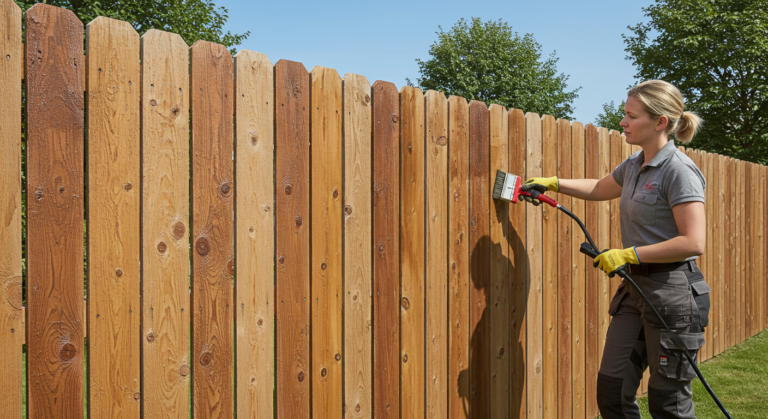
Scraping and Sanding the Surface
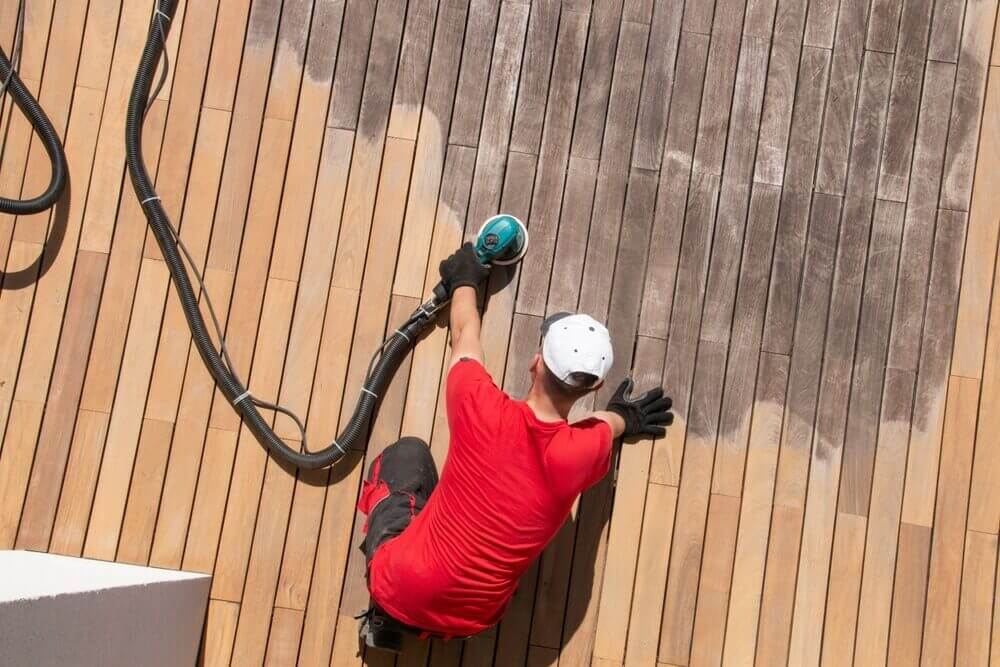
Loose paint must be scraped away, and glossy surfaces should be scuffed. Sanding feathers the edges of bare spots into the remaining paint, which makes the new paint blend better. Use medium to fine-grit sandpaper.
Even previously painted areas should be sanded to create a slightly rough texture, improving the bond between the old and new coats.
Repair Damage Before Painting
Holes, cracks, rotted wood, and gaps around windows or doors need fixing. Use exterior-grade wood filler, caulk, or replacement boards where needed.
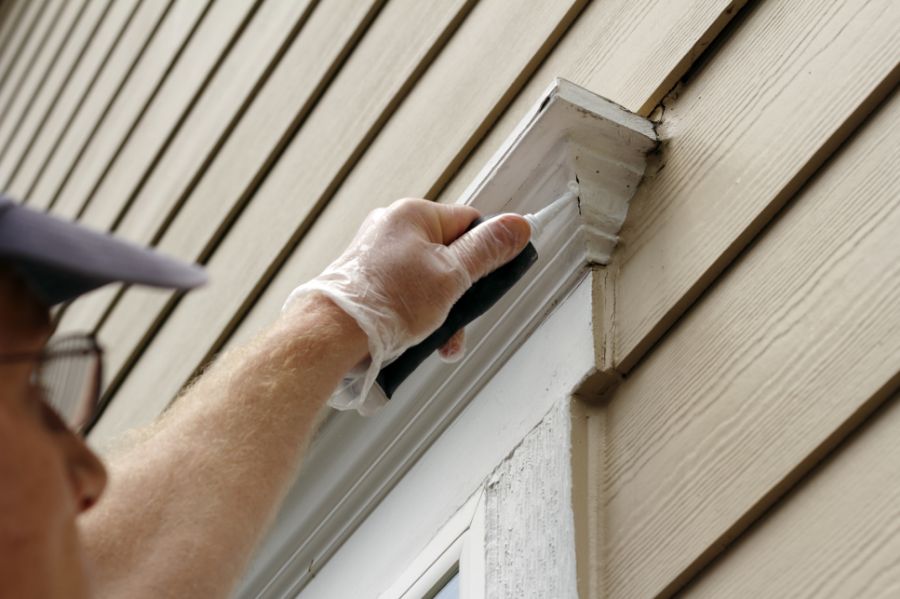
Let all repair products dry and cure completely before priming. Failing to repair damage first can trap moisture and ruin the job later.
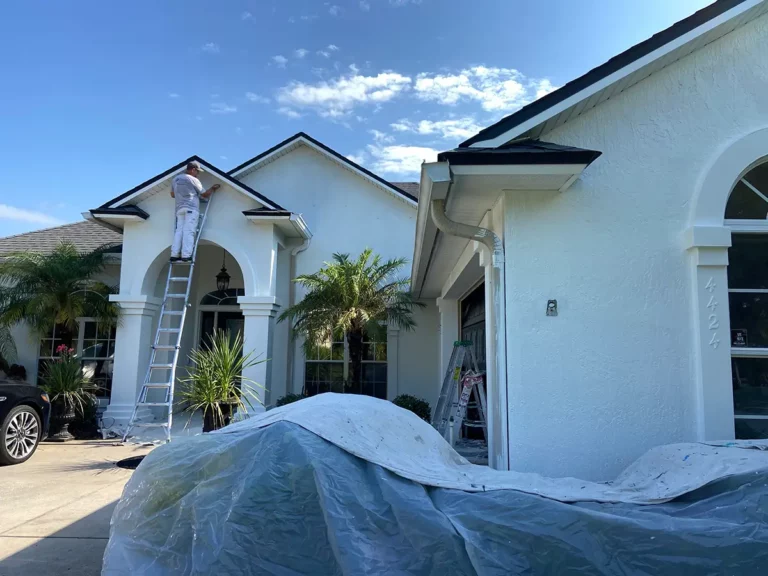
Prime All Vulnerable Surfaces

Bare wood, patched areas, or places where paint was removed should be primed. The primer ensures paint sticks and covers evenly. Choose oil-based for old surfaces or latex primer for newer siding and trim.
You don’t have to prime the entire house, just the exposed or repaired areas, unless you’re making a major color change.
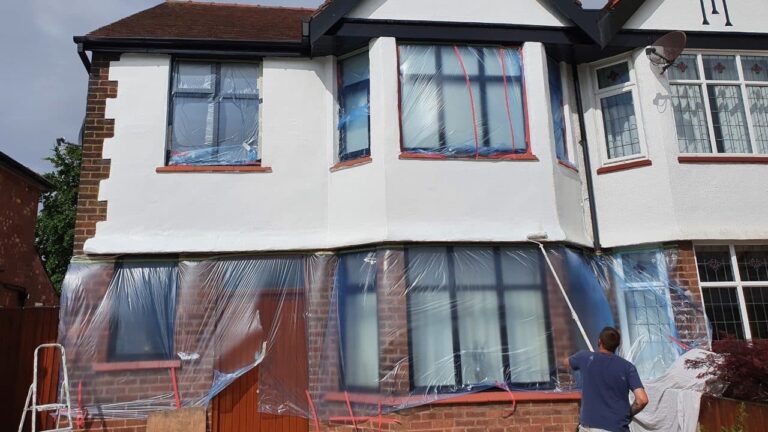
Mask Off and Protect Surroundings
Windows, doors, light fixtures, landscaping, decks, and walkways all need protection. Use painter’s tape, plastic film, cardboard, and drop cloths to cover everything that shouldn’t get painted.
This extra step prevents mess and makes the final paint lines look neat and crisp.
Tools and Technology That Help With Prep
Some modern tools speed up and improve the prep process:
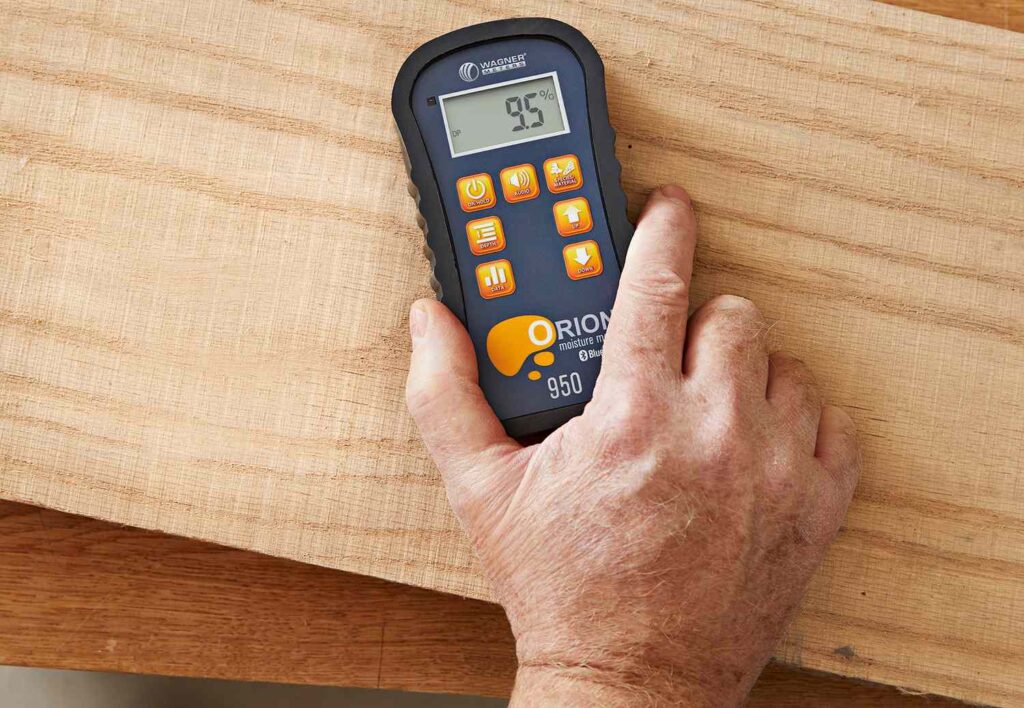
- Moisture Meters: Ensure wood is dry enough to paint
- Power Sanders: Make sanding faster and more consistent
- Dust Extractors: Keep the worksite clean and safe
- Infrared Surface Thermometers: Check if the surface is within the right temperature range
- Chemical Paint Removers: Help with old, stubborn coatings
These tools are especially helpful on large homes or difficult surfaces like stucco, cedar, or textured siding.
Real-Life Examples of Effective Exterior Prep
Suburban Brick Home in Illinois
Years of grime and moss buildup were cleaned with pressure washing and bleach solution. Loose mortar was repaired, and primer was applied before color. The finish has lasted over five years with minimal wear.
Historic Victorian in San Francisco
This project included ornate trim work and weathered siding. Prep required manual sanding, custom filler, and spot-priming. The detailing remained sharp and vibrant after a full paint job.
Modern Bungalow in Florida
Located in a high-humidity zone, mildew treatment and weatherproof caulking were used before priming. The vibrant blue exterior still looks fresh three years later.
Benefits of Thorough Paint Preparation
- Improved Adhesion: Paint binds to surfaces better, reducing peeling
- Durability: Your paint job lasts longer through harsh weather
- Visual Quality: Fewer flaws, more even color
- Preventative Maintenance: Identifies and addresses structural problems
- Saves Time and Money: Fewer touch-ups and repaints over time
If you skip the prep, you’re almost guaranteed to see premature failure, especially in climates with big weather shifts.
Use Cases Where Prep Is Especially Critical
Older Homes with Multiple Coats
Old paint layers may hide underlying damage. Proper prep reveals and fixes what’s underneath before it gets worse.
Homes in Rainy or Coastal Areas
High moisture levels make prepping essential. Trapped water leads to paint failure or rot. Moisture detection and drying time matter more in these areas.
Painting After Repairs or Remodeling
New wood or siding requires proper sanding and sealing. If you skip these steps, the surface soaks up too much paint or starts peeling fast.
Frequently Asked Questions (FAQ)
What happens if I skip the sanding step before painting?
Skipping sanding can cause new paint to slide off or peel early. Sanding creates a tooth for the paint to grip, improving long-term performance.
How do I know if the surface is dry enough to paint?
Use a moisture meter, or wait at least 24–48 hours after washing or rain. Touch alone can’t confirm dryness; moisture under the surface is still an issue.
Is priming always necessary?
Priming is essential for bare wood, metal, patched surfaces, or major color changes. It seals the surface and improves paint adhesion.