Prepping a House for Exterior Paint A Complete Guide to a Smooth, Lasting Finish
Prepping a house for exterior paint is the make-or-break factor in how well the paint job holds up. While many focus on paint quality, even the best coating will fail if the surface underneath isn’t cleaned, dry, and properly primed.
A thorough prep prevents peeling, cracking, and moisture damage. It also ensures the paint adheres well, looks even, and protects your home for years. With the right preparation, exterior paint won’t just look good; it will last longer and require less maintenance.
Step-by-Step Guide to Prepping Your Home’s Exterior
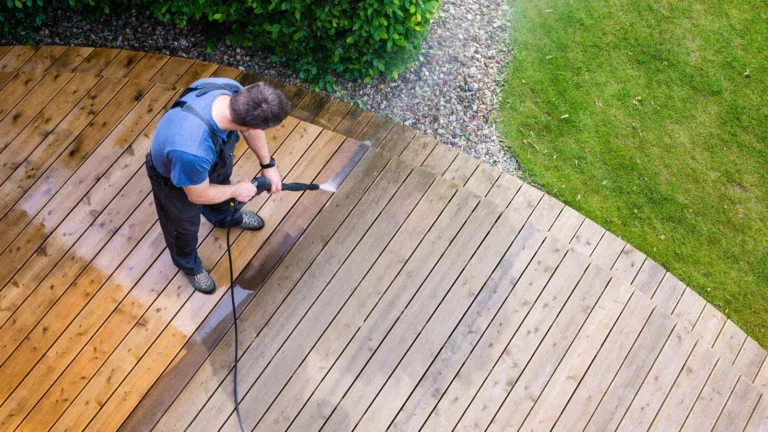
Wash the Exterior
Dirt, mildew, and chalky residue prevent paint from sticking. Use a power washer or scrub with a cleaning solution and brush. Pay extra attention to shaded or damp areas where mildew thrives.
Let the house dry completely, typically 24 to 48 hours before proceeding. Moisture trapped beneath paint leads to bubbling and early failure.
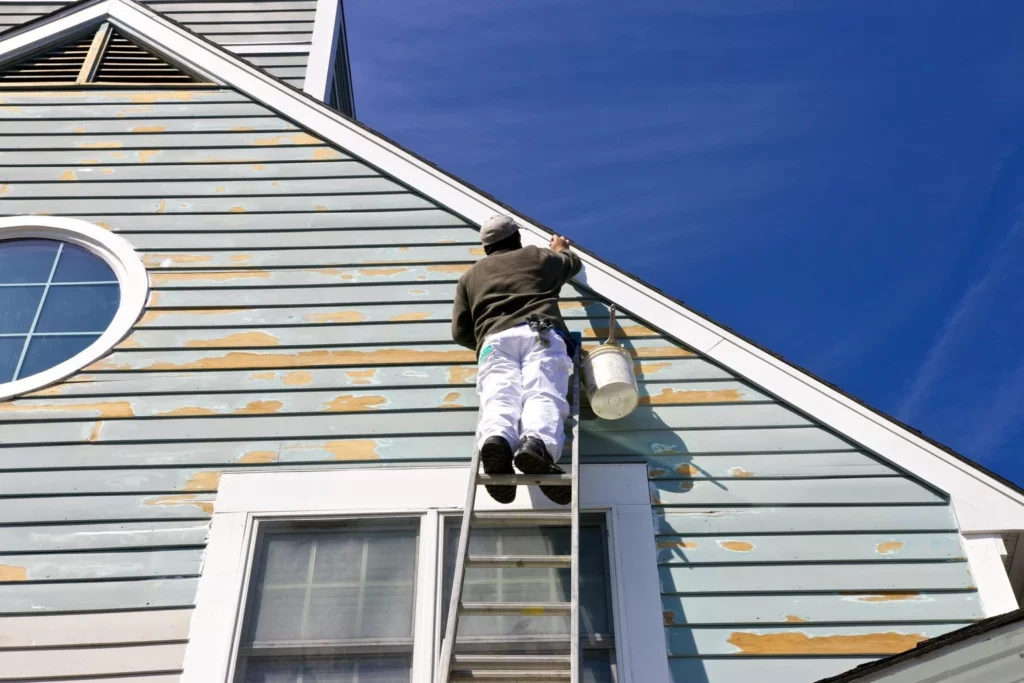
Remove Loose or Failing Paint
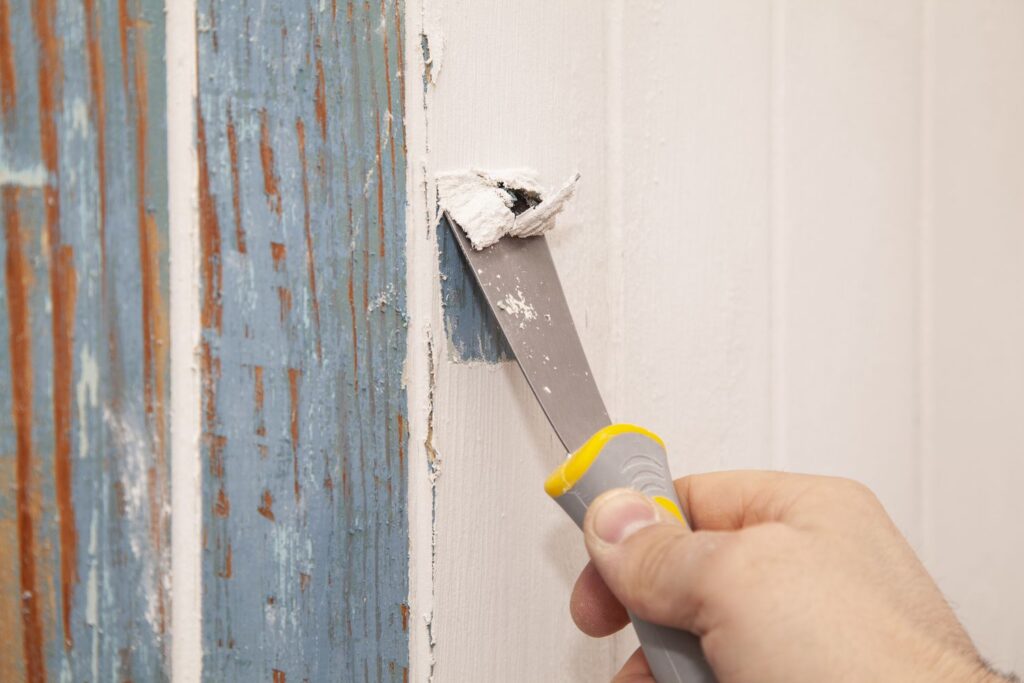
Use a scraper or putty knife to remove peeling or flaking paint. Feather out rough edges with 80- to 120-grit sandpaper. This helps create a smooth surface for the new paint to grip.
Sanding also scuffs glossy areas, ensuring the next layer bonds well. It’s tedious, but skipping this step is a common cause of early paint failure.
Repair Damaged Areas
Inspect siding, trim, and fascia for rot, cracks, and gaps. Use exterior-grade wood filler, caulk, or replace damaged boards as needed.

Make sure all repairs are dry before priming. Repairs done correctly make the surface look newer and help prevent water intrusion down the line.
Mask and Cover
Protect landscaping, windows, doors, hardware, and light fixtures. Use painter’s tape, plastic sheeting, and drop cloths. Thorough masking ensures crisp edges and saves time during cleanup.
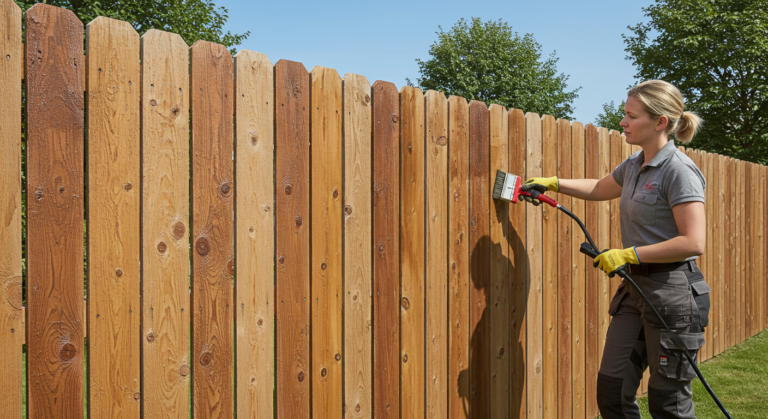
Prime Problem Areas
Use primer on bare wood, patched surfaces, or discolored areas. Priming helps the paint stick and ensures an even finish. Choose an oil- or latex-based primer depending on your paint type and surface condition.
Tools and Tech That Simplify Exterior Prep
Modern tools reduce manual labor and improve accuracy:
- Moisture meters ensure surfaces are paint-ready
- Electric paint removers make stripping faster and safer
- Sanding systems with dust extraction keep job sites clean
- Laser levels for consistent masking lines
- Rotary scrub brushes attach to drills for deep cleaning
Using the right equipment speeds up prep time while ensuring quality results.
Real-Life Examples of Successful Exterior Prep Projects
Victorian Home in Seattle
This aged property had chipped paint and rot on the fascia boards. After repairs, sanding, and targeted priming, the repaint held up beautifully through heavy rains and cold seasons.
Modern Stucco House in Arizona
Dry, dusty conditions had caused paint to fade and crack. After power washing, repairing cracks, and applying a masonry primer, the final coat achieved even, bold coverage.
Bungalow in Austin
To protect the intricate trim work, painters spent extra time masking and sanding. The result: sharp edges, no overspray, and a color scheme that made the architectural details pop.
Advantages of Proper Exterior Prep
- Stronger Paint Adhesion: Paint bonds better, reducing the chances of flaking
- Improved Weather Resistance: Helps keep moisture, UV rays, and mildew at bay
- Longer-Lasting Results: A well-prepped surface means fewer repaints
- Aesthetically Superior: Clean, smooth surfaces yield better visual outcomes
- Protects Home Structure: Prevents wood rot and hidden damage from growing
Preparation is an investment in durability and beauty.
Common Scenarios That Demand Thorough Prep
1. Painting in High-Humidity or Rain-Prone Areas
Always test for dryness and wait after rainfall. Moisture behind paint is a recipe for failure.
2. Painting Previously Painted Homes
Old paint may be chalky or peeling. Scraping and sanding ensure the new paint sticks.
3. Switching from Oil-Based to Latex Paint
Prep becomes even more crucial. Primer acts as a bridge for compatibility.
Frequently Asked Questions (FAQ)
Should I power wash before every exterior paint job?
Yes. Power washing removes dirt, mildew, and old paint residue, creating a clean slate for new paint. Always allow time to dry afterward.
What’s the best primer for bare exterior wood?
Oil-based primers work well for sealing bare wood. If using latex paint, a high-quality bonding primer also works.
How long should I wait after repairing wood before painting?
Let fillers or caulk dry per manufacturer instructions, usually 24 hours. Painting too soon can cause adhesion issues or visible shrinkage later.