Preparing a House for Painting Expert Tips for a Flawless Finish
Preparing a house for painting goes far beyond grabbing a brush. Whether interior or exterior, paint will only adhere and perform well if the surface underneath is sound, clean, and dry. Skipping preparation often results in blistering, flaking, uneven coverage, or early failure.
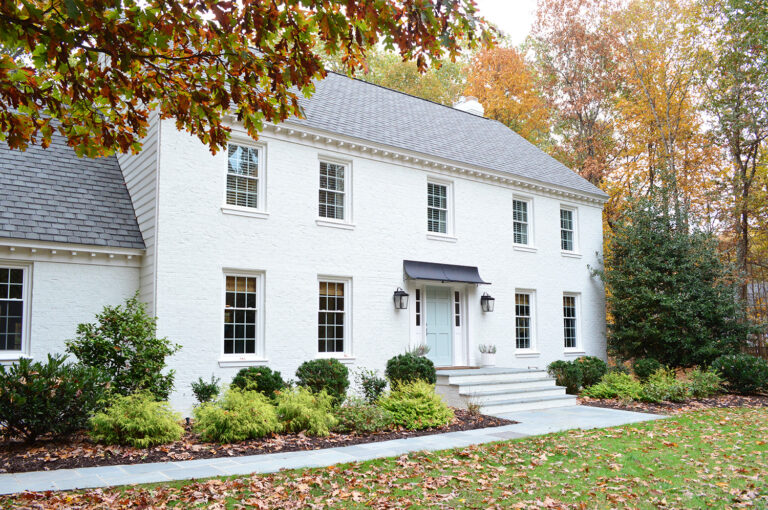
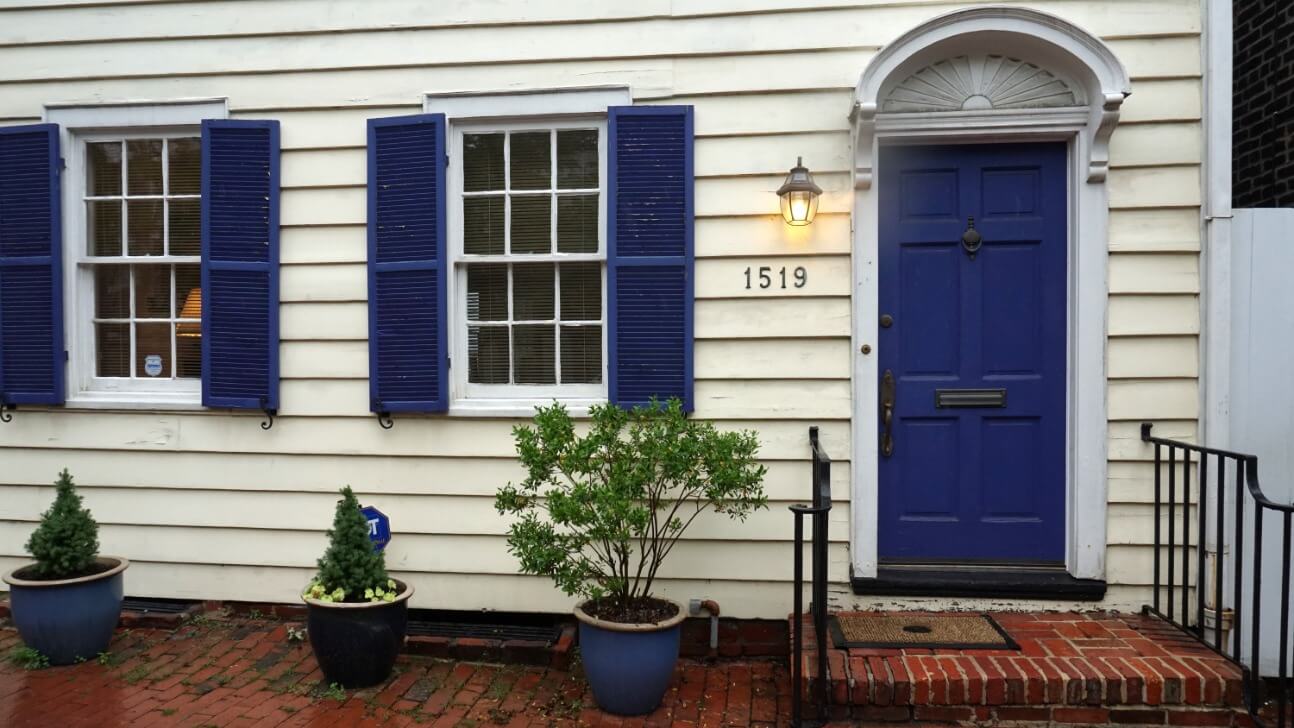
From boosting curb appeal to safeguarding your home’s structure, proper surface preparation is the foundation of any successful paint project. Whether you’re painting brick, siding, stucco, or wood, each surface requires specific prep steps to get the best finish.
Step-by-Step Guide to Preparing a House for Painting
Wash the Walls
Dirt, mold, pollen, and old paint residue all prevent paint from bonding correctly. Power wash the entire surface or scrub manually with a detergent solution and a stiff brush. Let the home dry thoroughly for at least 24 to 48 hours.
Cleaning ensures contaminants don’t interfere with adhesion or lead to bubbling and peeling down the road.
Scrape and Sand
Loose, cracked, or peeling paint should be fully removed with a scraper. Then, sand rough patches or feather edges with 80- to 120-grit sandpaper. Smooth transitions prevent visible seams and help the new paint stick.
Sanding also removes sheen from glossy surfaces, allowing primer and paint to adhere better.
Make Repairs
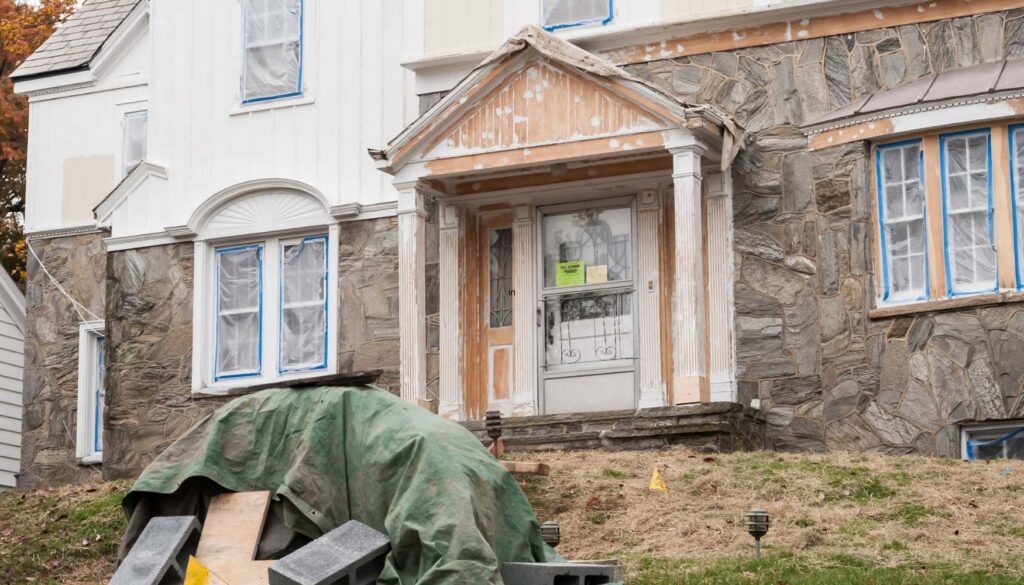
Inspect for cracks, holes, and rot. Use patching compound, wood filler, or caulk as needed. Replace any compromised siding, trim, or fascia boards. Hammer in protruding nails or tighten loose screws.
Correcting structural or cosmetic damage ensures a smoother final appearance and extends the life of your paint job.
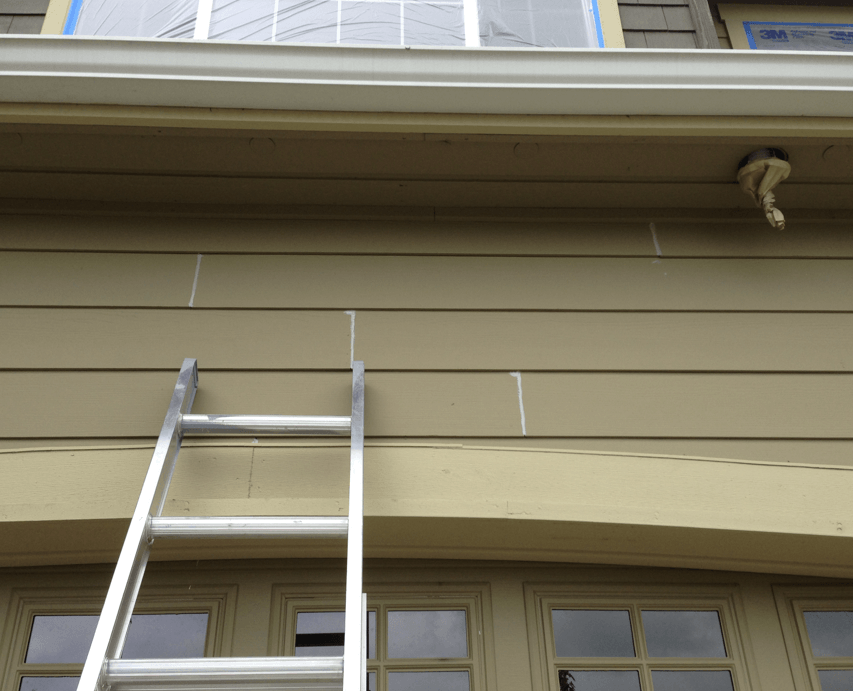
Protect and Mask
Cover landscaping, windows, doors, lights, and walkways with drop cloths or plastic. Use painter’s tape to mask off edges and create clean lines. Protecting your surroundings saves time on cleanup and avoids accidental damage.
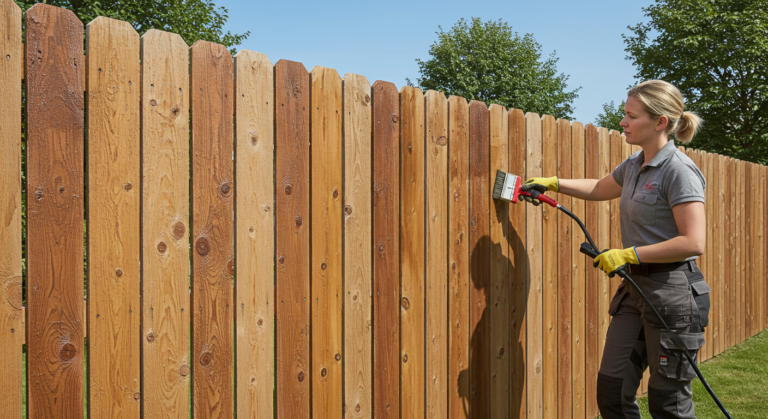
Prime Bare or Problem Areas
Primer is essential on raw wood, patched surfaces, or high-traffic zones. It seals the surface, enhances adhesion, blocks stains, and evens out absorption. Choose a primer suitable for your surface type and weather conditions.
Technology That Makes House Painting Prep Easier
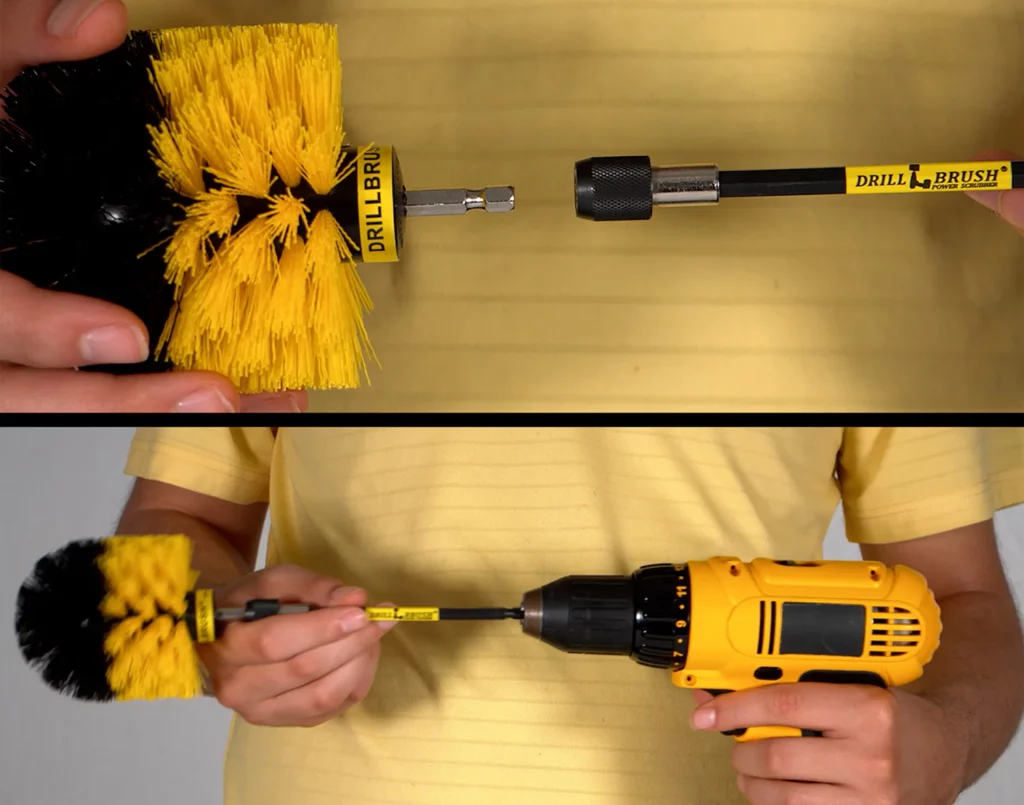
Modern tools and smart technology simplify house prep:
- Electric sprayers apply primer quickly and evenly on large areas
- Moisture meters confirm surfaces are paint-ready
- Dustless sanders reduce cleanup and improve air quality
- Infrared heaters accelerate drying in cold climates
- Smart laser levels ensure masking lines are straight on uneven walls
These tools increase productivity and precision.
Real-Life Examples of House Painting Prep Success

Historic Restoration in Charleston
This early 1900s home had flaking paint and wood rot. After washing, stripping, and replacing damaged trim, the team applied primer and used historic color palettes. The house looked brand new while preserving its character.
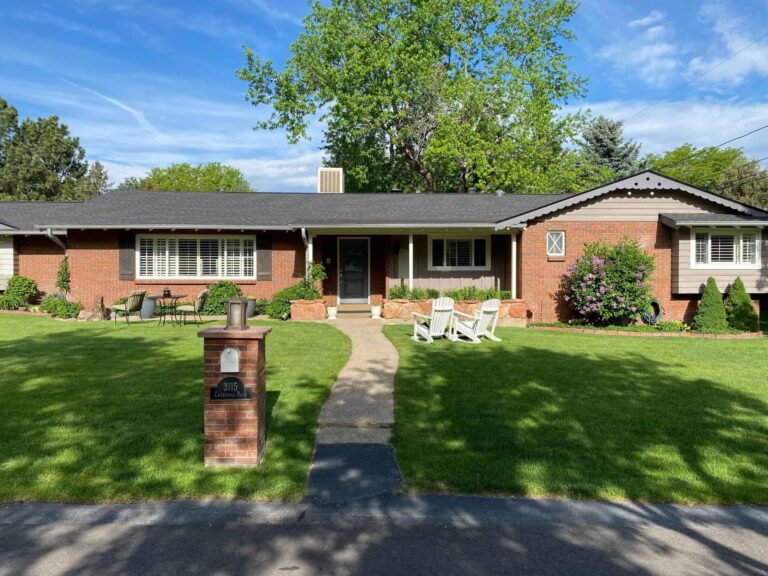
Suburban Refresh in Portland
A mid-century ranch had mildew and faded siding. After pressure washing and caulking, painters primed all surfaces and used UV-resistant paint. The transformation was immediate and durable.
Detail Work on Craftsman Bungalow
With intricate woodwork and bold trim, painters took extra time masking and sanding. Prep took longer than painting, but the crisp lines and lasting finish made it worth the effort.
Benefits of Thoroughly Prepping a House for Painting
- Extended Paint Life: Surfaces hold up longer and resist wear
- Even Coverage: Primer helps achieve richer, smoother finishes
- Lower Maintenance: Fewer touch-ups or premature repaints needed
- Improved Protection: Prevents water intrusion and wood rot
- Boosted Property Value: A polished exterior improves curb appeal and resale value
Proper prep ensures your investment in paint pays off.
Common Situations Where Prep Is Vital
1. Painting Over Glossy or Previously Painted Surfaces
Glossy finishes repel paint. Sanding and priming help paint stick.
2. Painting After Rain or Humidity
Wet surfaces trap moisture, leading to blisters. Use moisture meters and wait for full dryness.
3. Working With Mixed Materials (Wood, Stucco, Vinyl)
Each material has different prep needs. Learn them to avoid failure.
Frequently Asked Questions (FAQ)
How long should I wait to paint after washing my house?
Wait at least 24–48 hours, or longer in humid or cool conditions. Use a moisture meter to ensure wood is below 15% moisture content.
Do I need to use primer on the whole house?
Primer is essential on bare, patched, or porous surfaces. On previously painted areas in good condition, you may not need a full prime coat.
What happens if I skip sanding?
Skipping sanding can lead to peeling or patchy paint. It’s especially important when painting over gloss, previously painted surfaces, or uneven patches.