Prepping Exterior of House for Paint Complete Guide to Professional Results
Prepping the exterior of a house before painting isn’t just a chore; it’s the foundation for a long-lasting and professional-looking result. Dirt, mildew, peeling paint, and weather-damaged siding can prevent paint from sticking and ruin the final look.
Skipping this vital step can lead to flaking paint, water infiltration, and costly maintenance. Whether you’re a homeowner or a painting contractor, prepping properly is the smartest investment you can make before opening that paint can.
Comprehensive Steps to Prep Your House Exterior
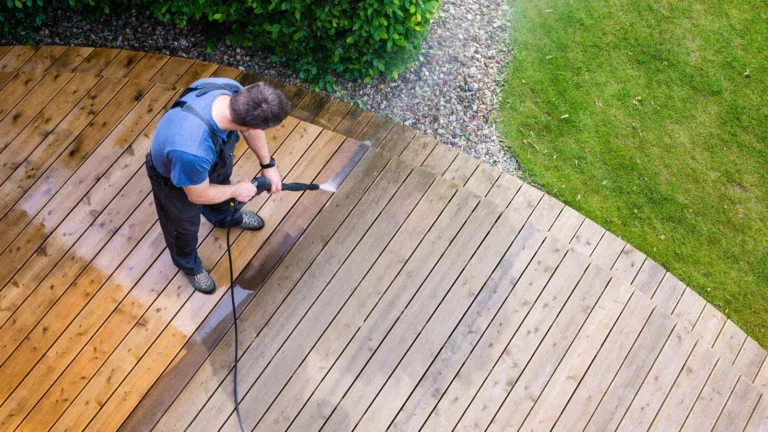
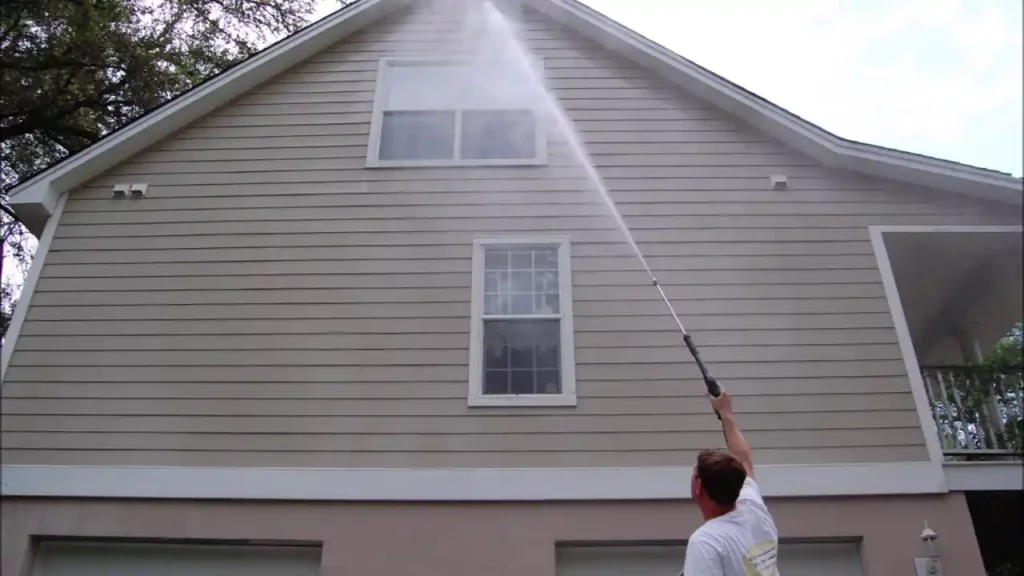
Wash the Surface
Use a pressure washer or garden hose with a scrub brush to remove dust, grime, and mildew. Use a house-cleaning solution or mix water, TSP, and a mold inhibitor. Allow surfaces to dry for at least 24–48 hours.
A clean surface ensures the new paint sticks well and doesn’t trap contaminants that can cause paint failure.
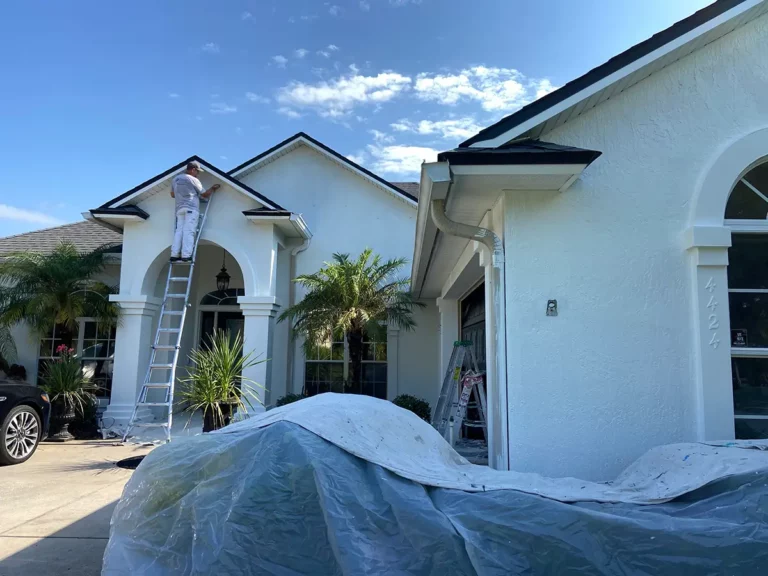
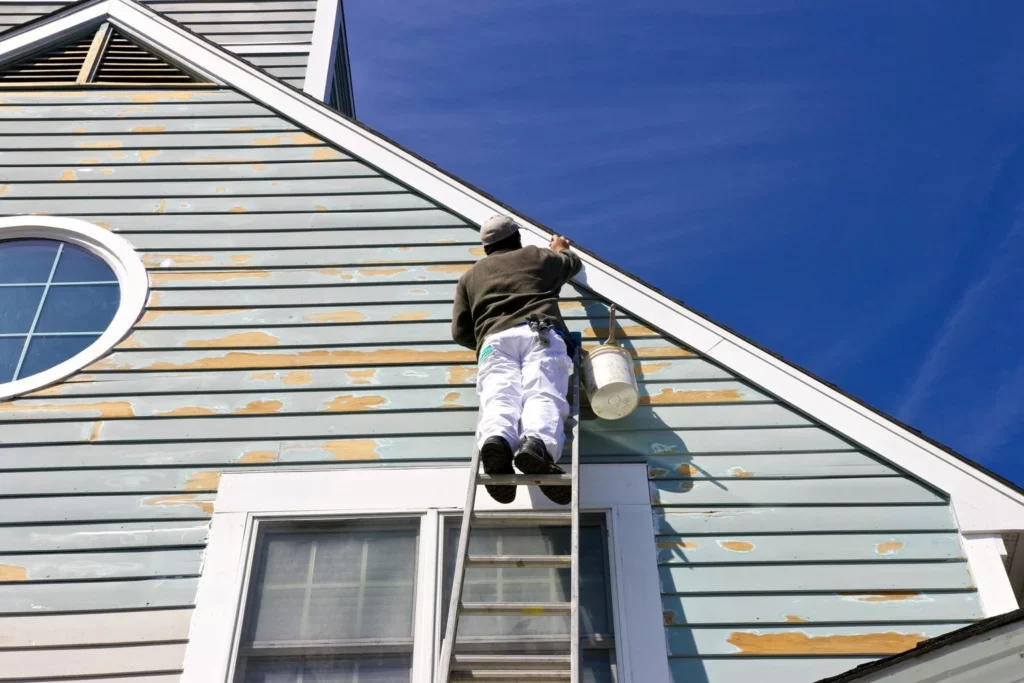
Remove Loose or Peeling Paint
Scrape away all loose or blistering paint. Use a hand scraper, wire brush, or power sander for stubborn areas. A heat gun can help with thick or old layers. Feather the edges with sandpaper to ensure smooth transitions.
This process reveals problem spots and prepares the surface for better paint adhesion.
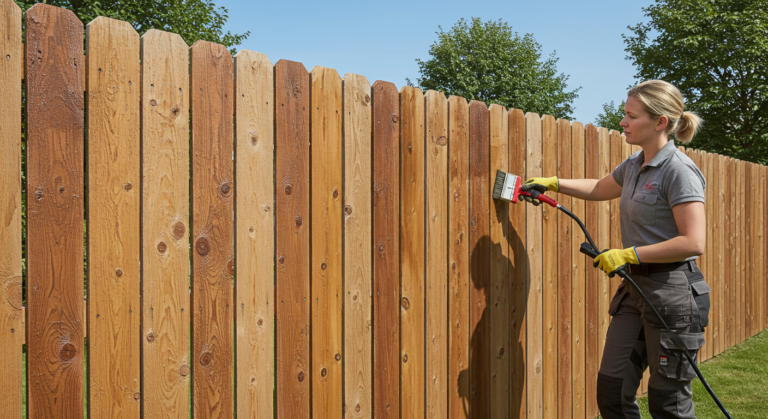
Repair Damaged Siding and Trim
Check for cracks, rot, or damaged caulk. Replace or repair damaged wood, use exterior-grade filler, and apply caulk to joints, seams, and gaps. Pay extra attention around windows, doors, and baseboards.
Repairs strengthen the home’s exterior and ensure a smoother finish when painted.
Sand Rough Surfaces
Sand the exterior where needed to smooth out rough patches, especially after scraping or filling. Use 80- to 120-grit sandpaper for best results. Always wear protective gear to avoid inhaling dust.
Sanding eliminates uneven textures and helps the new paint adhere evenly.
Prime Bare Areas
Priming is essential on bare wood, filled patches, or repaired siding. Use an exterior-grade, stain-blocking primer. For large surfaces, a sprayer or roller saves time. Let the primer dry thoroughly before painting.
Primer provides an even base coat and prevents stains or wood tannins from bleeding through.
Technology and Tools That Simplify the Process
Modern technology has made exterior prep more efficient and reliable:
- Pressure washers with adjustable pressure prevent damage while cleaning deeply
- Moisture meters verify that surfaces are dry enough to paint
- Infrared thermometers help measure surface temperature
- Dustless sanders reduce mess and health risks
- Caulking guns with auto-stop reduce fatigue and provide better application control
These tools not only improve results but also save significant labor and time.
Real-World Examples of Exterior Prep Success
Linden Street Makeover
This older home had chipped paint and water-damaged clapboards. After washing, scraping, and caulking, contractors replaced several boards. The house was primed and then painted with high-durability latex paint.
Mission Heights Stucco Revival
Years of dust and algae had stained this stucco exterior. A low-pressure wash, followed by mildew treatment, restored the surface. Cracks were patched, and the home received a fresh coat of masonry primer and paint.

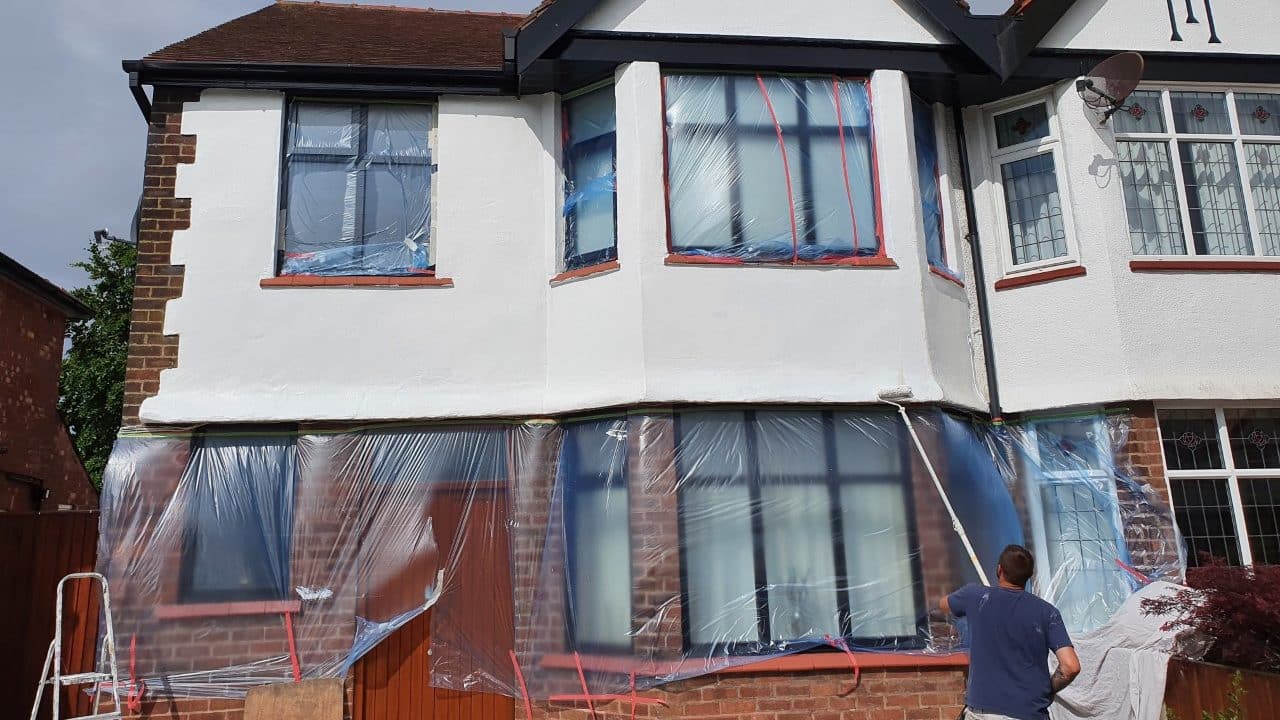
Parkview Window Detail Work
Preparation included sanding flaking paint, recaulking joints, and masking glass panes. Precision in prep allowed for a clean, crisp finish that transformed the home’s curb appeal.
Benefits of Thorough Exterior Prep
Taking the time to prep before painting brings several advantages:
- Enhanced Durability: Proper adhesion means your paint will last for years
- Weather Resistance: Filling gaps and cracks reduces moisture penetration
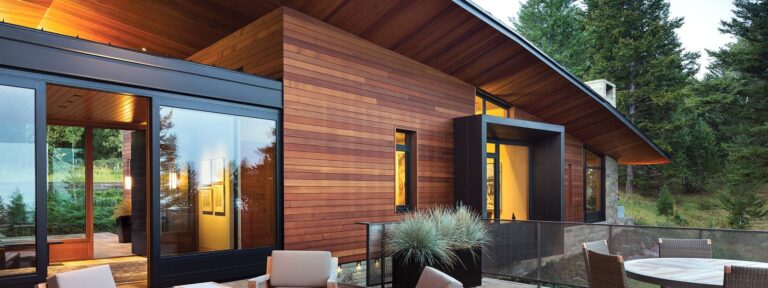
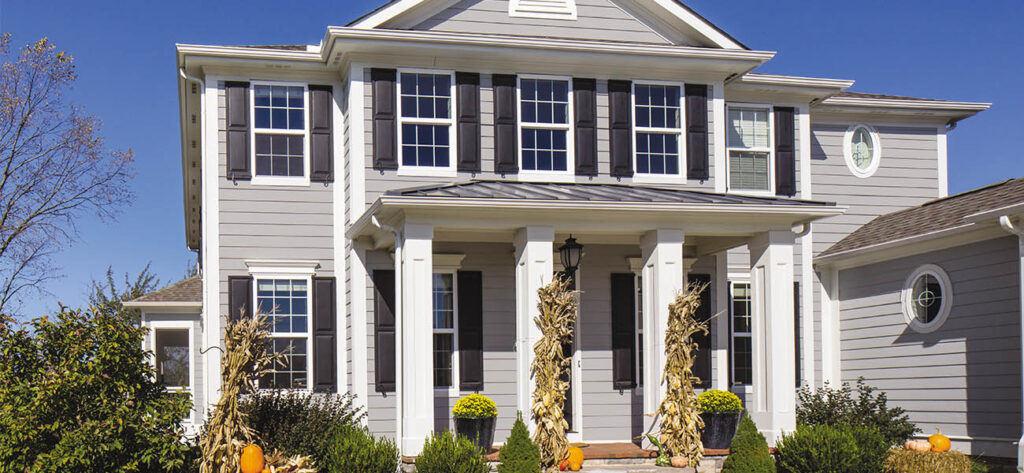
- Better Finish: Smooth, clean surfaces look more professional and attractive
- Improved Home Value: A well-painted home is more appealing to buyers
- Reduced Costs: Less chance of repainting or premature damage
All these benefits stem from a solid preparation routine.
When Exterior Prep Becomes a Priority
1. After Storm or Weather Damage
Severe weather can compromise paint and expose bare siding. Prep and repaint to prevent long-term issues.
2. On Older Homes with Lead Paint
Extra care is needed with lead-safe practice, including containment and HEPA vacuuming.
3Beforeto Selling or Renting
A well-prepped and painted home attracts more interest and can increase market value.
Frequently Asked Questions (FAQ)
How soon can I paint after pressure washing?
Let the surface dry for at least 24–48 hours. Use a moisture meter to ensure wood is below 15% moisture content.
Is sanding always necessary before exterior painting?
Yes, especially on scraped or glossy areas. Sanding improves bonding and helps achieve a smoother finish.
Can I skip primer if I’m using paint-and-primer-in-one?
Not recommended. For bare or patched surfaces, a dedicated exterior primer is more effective for long-term adhesion and protection.