Best Way to Prep Your House for Painting Expert Tips for a Lasting Finish
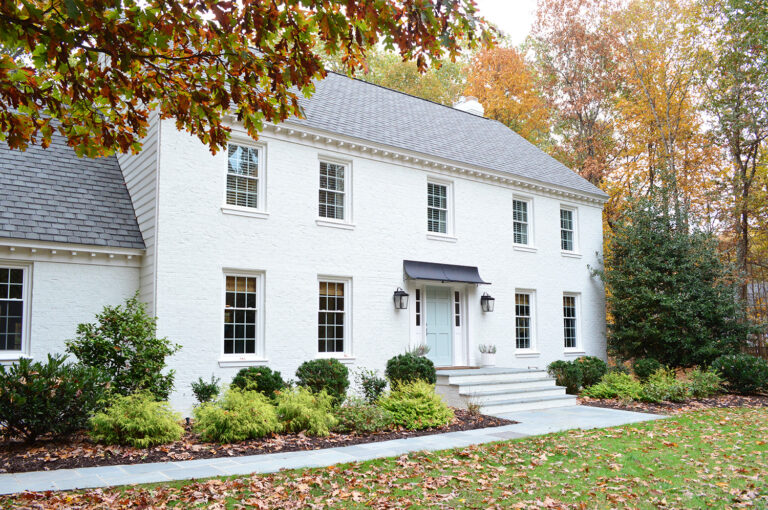
Painting a house is more than picking a color and opening a can of paint. The true secret to a flawless, long-lasting paint job lies in the preparation process. Without proper surface prep, even the highest quality paint will peel, crack, or fail prematurely. That means wasted time, money, and effort.
Proper prep ensures strong adhesion, consistent color coverage, and a professional finish. It also helps uncover hidden damage, like mold, rot, or water leaks, that could ruin your investment if left untreated.
Step-by-Step Guide to Prepping a House for Exterior Painting
Clean the Surface Thoroughly
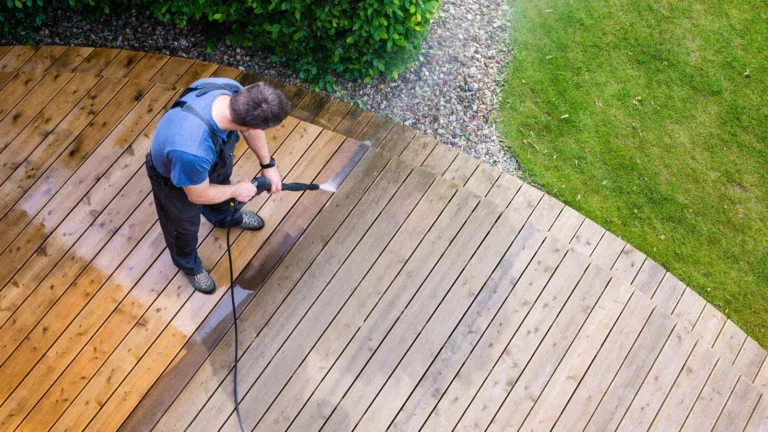
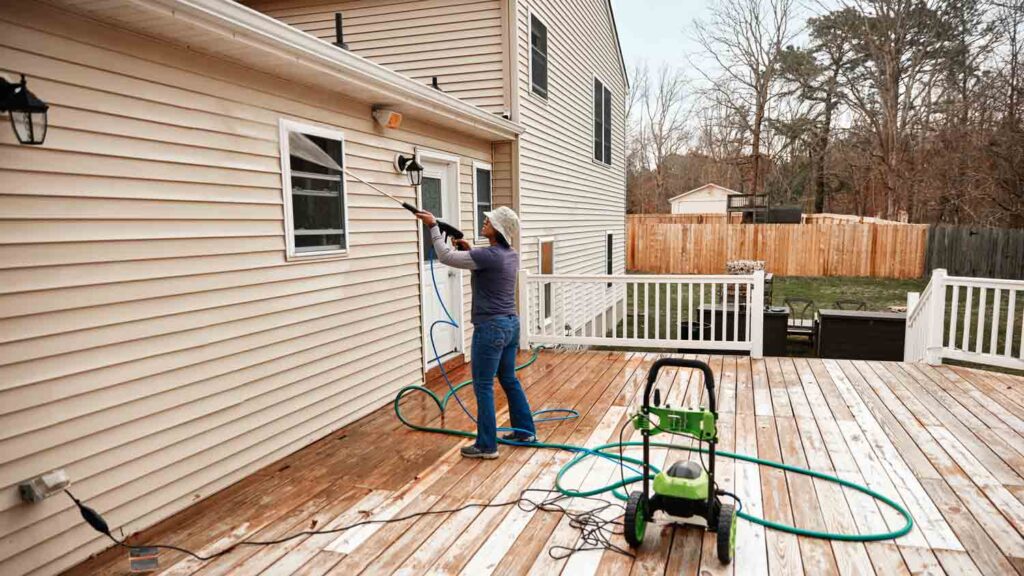
The first step is always cleaning. Dirt, mildew, and old paint residue must be removed for fresh paint to bond. Pressure washing is ideal for exterior surfaces. For stubborn grime or mold, use a cleaning solution with trisodium phosphate (TSP).
Let the surface dry completely before moving on. Painting over wet siding is a recipe for blistering and poor adhesion.
Scrape and Sand Loose Paint
After cleaning, inspect the surface for flaking or peeling paint. Use a paint scraper or putty knife to remove any loose layers. Then, sand the area smooth with a sanding block or power sander.
This creates an even surface and promotes proper bonding for the new paint. Pay special attention to corners, trim, and other detailed areas.
Repair Damaged Surfaces
Cracks, holes, and rotted wood must be repaired before painting. Use exterior-grade wood filler, caulk, or replacement siding where necessary. Look for signs of termite damage, soft spots, or crumbling surfaces.
Priming over damaged areas without repair can trap moisture and cause further structural problems down the road.
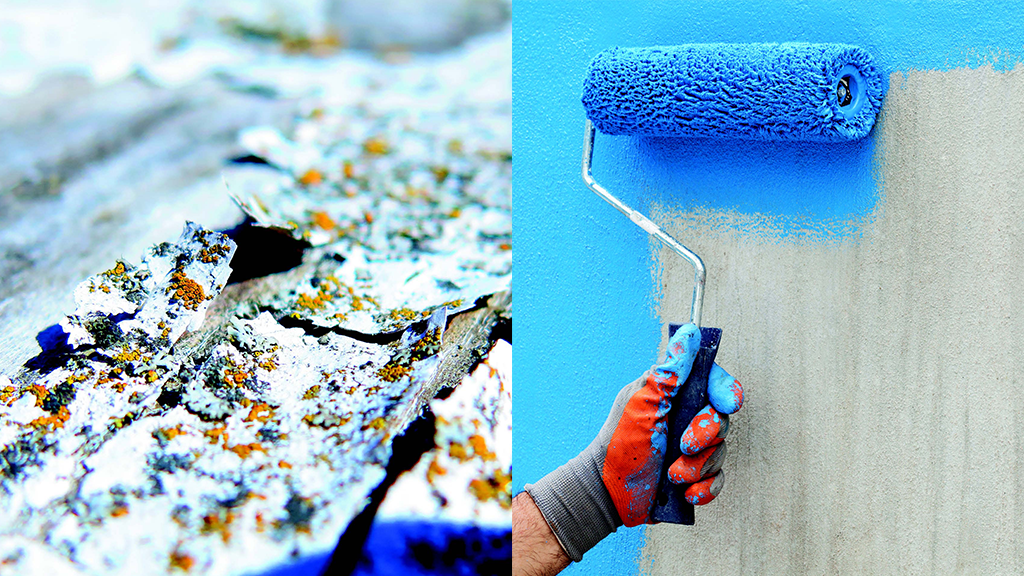
Prime the Bare Wood and Patched Areas
Priming is essential for sealing surfaces and providing a strong base. Use stain-blocking primers on patched areas, bare wood, or stains to prevent bleed-through.
Choose the right primer for your siding material, wood, stucco, brick, or vinyl may require different formulas. Allow primer to dry fully before applying your topcoat.
Protect Landscaping and Fixtures
Before painting, cover nearby bushes, flowerbeds, walkways, and outdoor furniture with plastic sheeting or drop cloths. Use painter’s tape to protect windows, trim, outlets, and lights.
Prevention saves hours of cleanup time later and ensures crisp, clean paint lines.
Technology That Makes House Prep Easier
Modern tools can streamline the preparation process significantly:
- Moisture meters help detect hidden dampness in siding or trim.
- Infrared thermometers identify surface temperature for optimal paint adhesion.
- Dustless sanders reduce cleanup time and improve air quality.
- Digital inspection apps document damage or prep progress for project tracking.
These tools not only speed up the job but also ensure a more thorough and lasting result.
Real-World Examples of Effective House Painting Prep

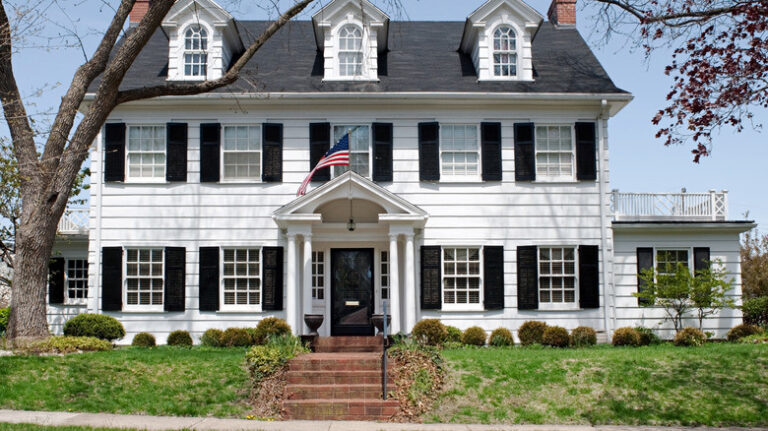
Elm Street Victorian Home
This home required extensive scraping, patching, and priming due to its ornate trim. A 3-day prep job ensured the paint didn’t peel prematurely, saving the owner costly touch-ups.
Brookside Ranch Project
Here, outdated aluminum siding was pressure-washed and lightly sanded before a bonding primer was applied. The result was smooth, consistent coverage with no chipping.

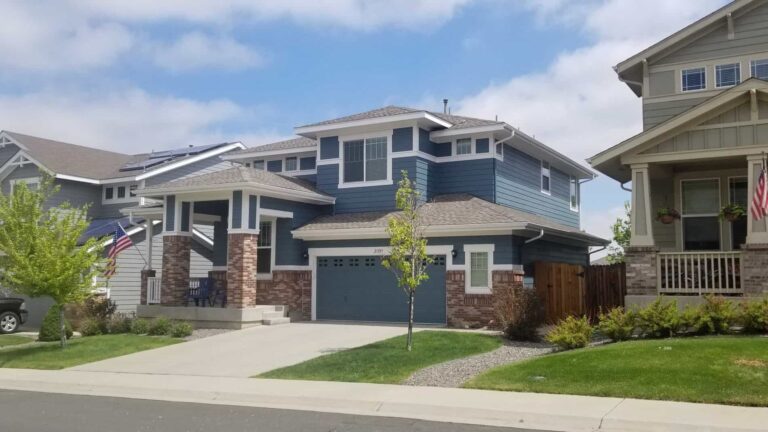
Maple Grove Suburban Remodel
This job used protective wrap and extensive taping to protect a new landscape. Clean paint lines and no overspray were achieved through thorough masking.
Benefits of Professional Prep Before Painting
Prepping your house properly before painting offers a range of long-term benefits:
- Better paint adhesion reduces the chances of peeling or blistering
- Cleaner, crisper lines improve curb appeal
- Paint lasts longer, often adding 5–10 years to the lifecycle
- Damage is repaired early, preventing expensive structural issues
- Improved resale value, as buyers notice high-quality finishes
Investing time in prep protects your home and boosts its aesthetic and financial value.
Situations Where Proper Prep Makes All the Difference
1. Painting Over Dark or Bright Colors
Without primer or sanding, new paint might not cover evenly, resulting in patchy color and extra coats.
2. Coastal or Humid Climates
High-humidity areas require more drying time and mold resistance prep to prevent failure.
3. Repainting After Years of Neglect
Old, chalky paint, mildew, and structural damage need extensive cleaning and sealing to ensure durability.
Frequently Asked Questions (FAQ)
Do I always need to sand before painting?
Yes, sanding is crucial for rough, peeling, or glossy surfaces. It creates a texture that helps new paint stick better.
Can I skip primer if I’m using a paint-and-primer combo?
Not always. Primer is still recommended on bare wood, patched areas, or when covering stains. Paint-and-primer combos work best on previously painted, clean surfaces.
How long should I wait to paint after pressure washing?
Ideally, wait 24–48 hours for the surface to fully dry. Moisture trapped beneath paint can lead to bubbling and failure.